Interface overview
In the employee details section, to the right of the main table, there is a Compensation History block. This block displays historical data on salary changes. The information is considered confidential, so it only becomes visible when you hover the cursor over the block. Entries related to compensation can be edited or deleted.
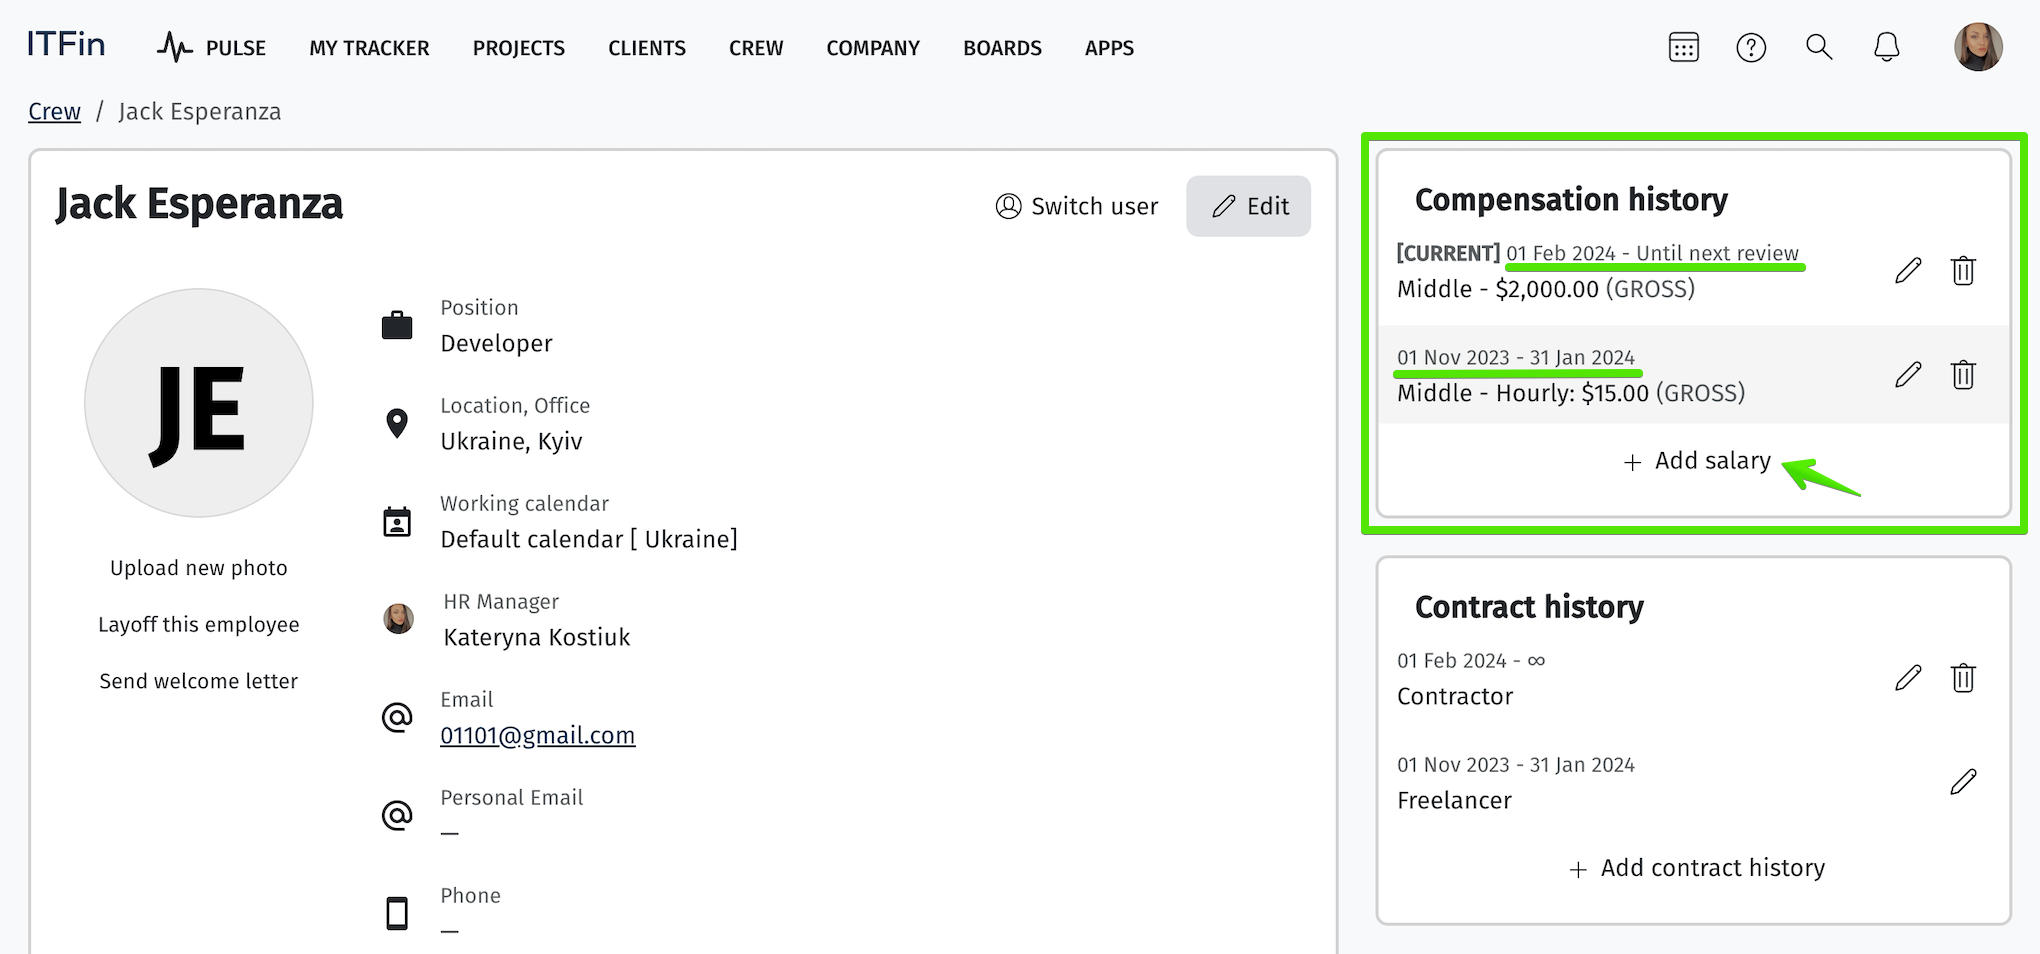
By clicking the +Add Salary button, the user can enter information about the employee’s new salary for a new period.
Fields marked with * are mandatory to fill in.
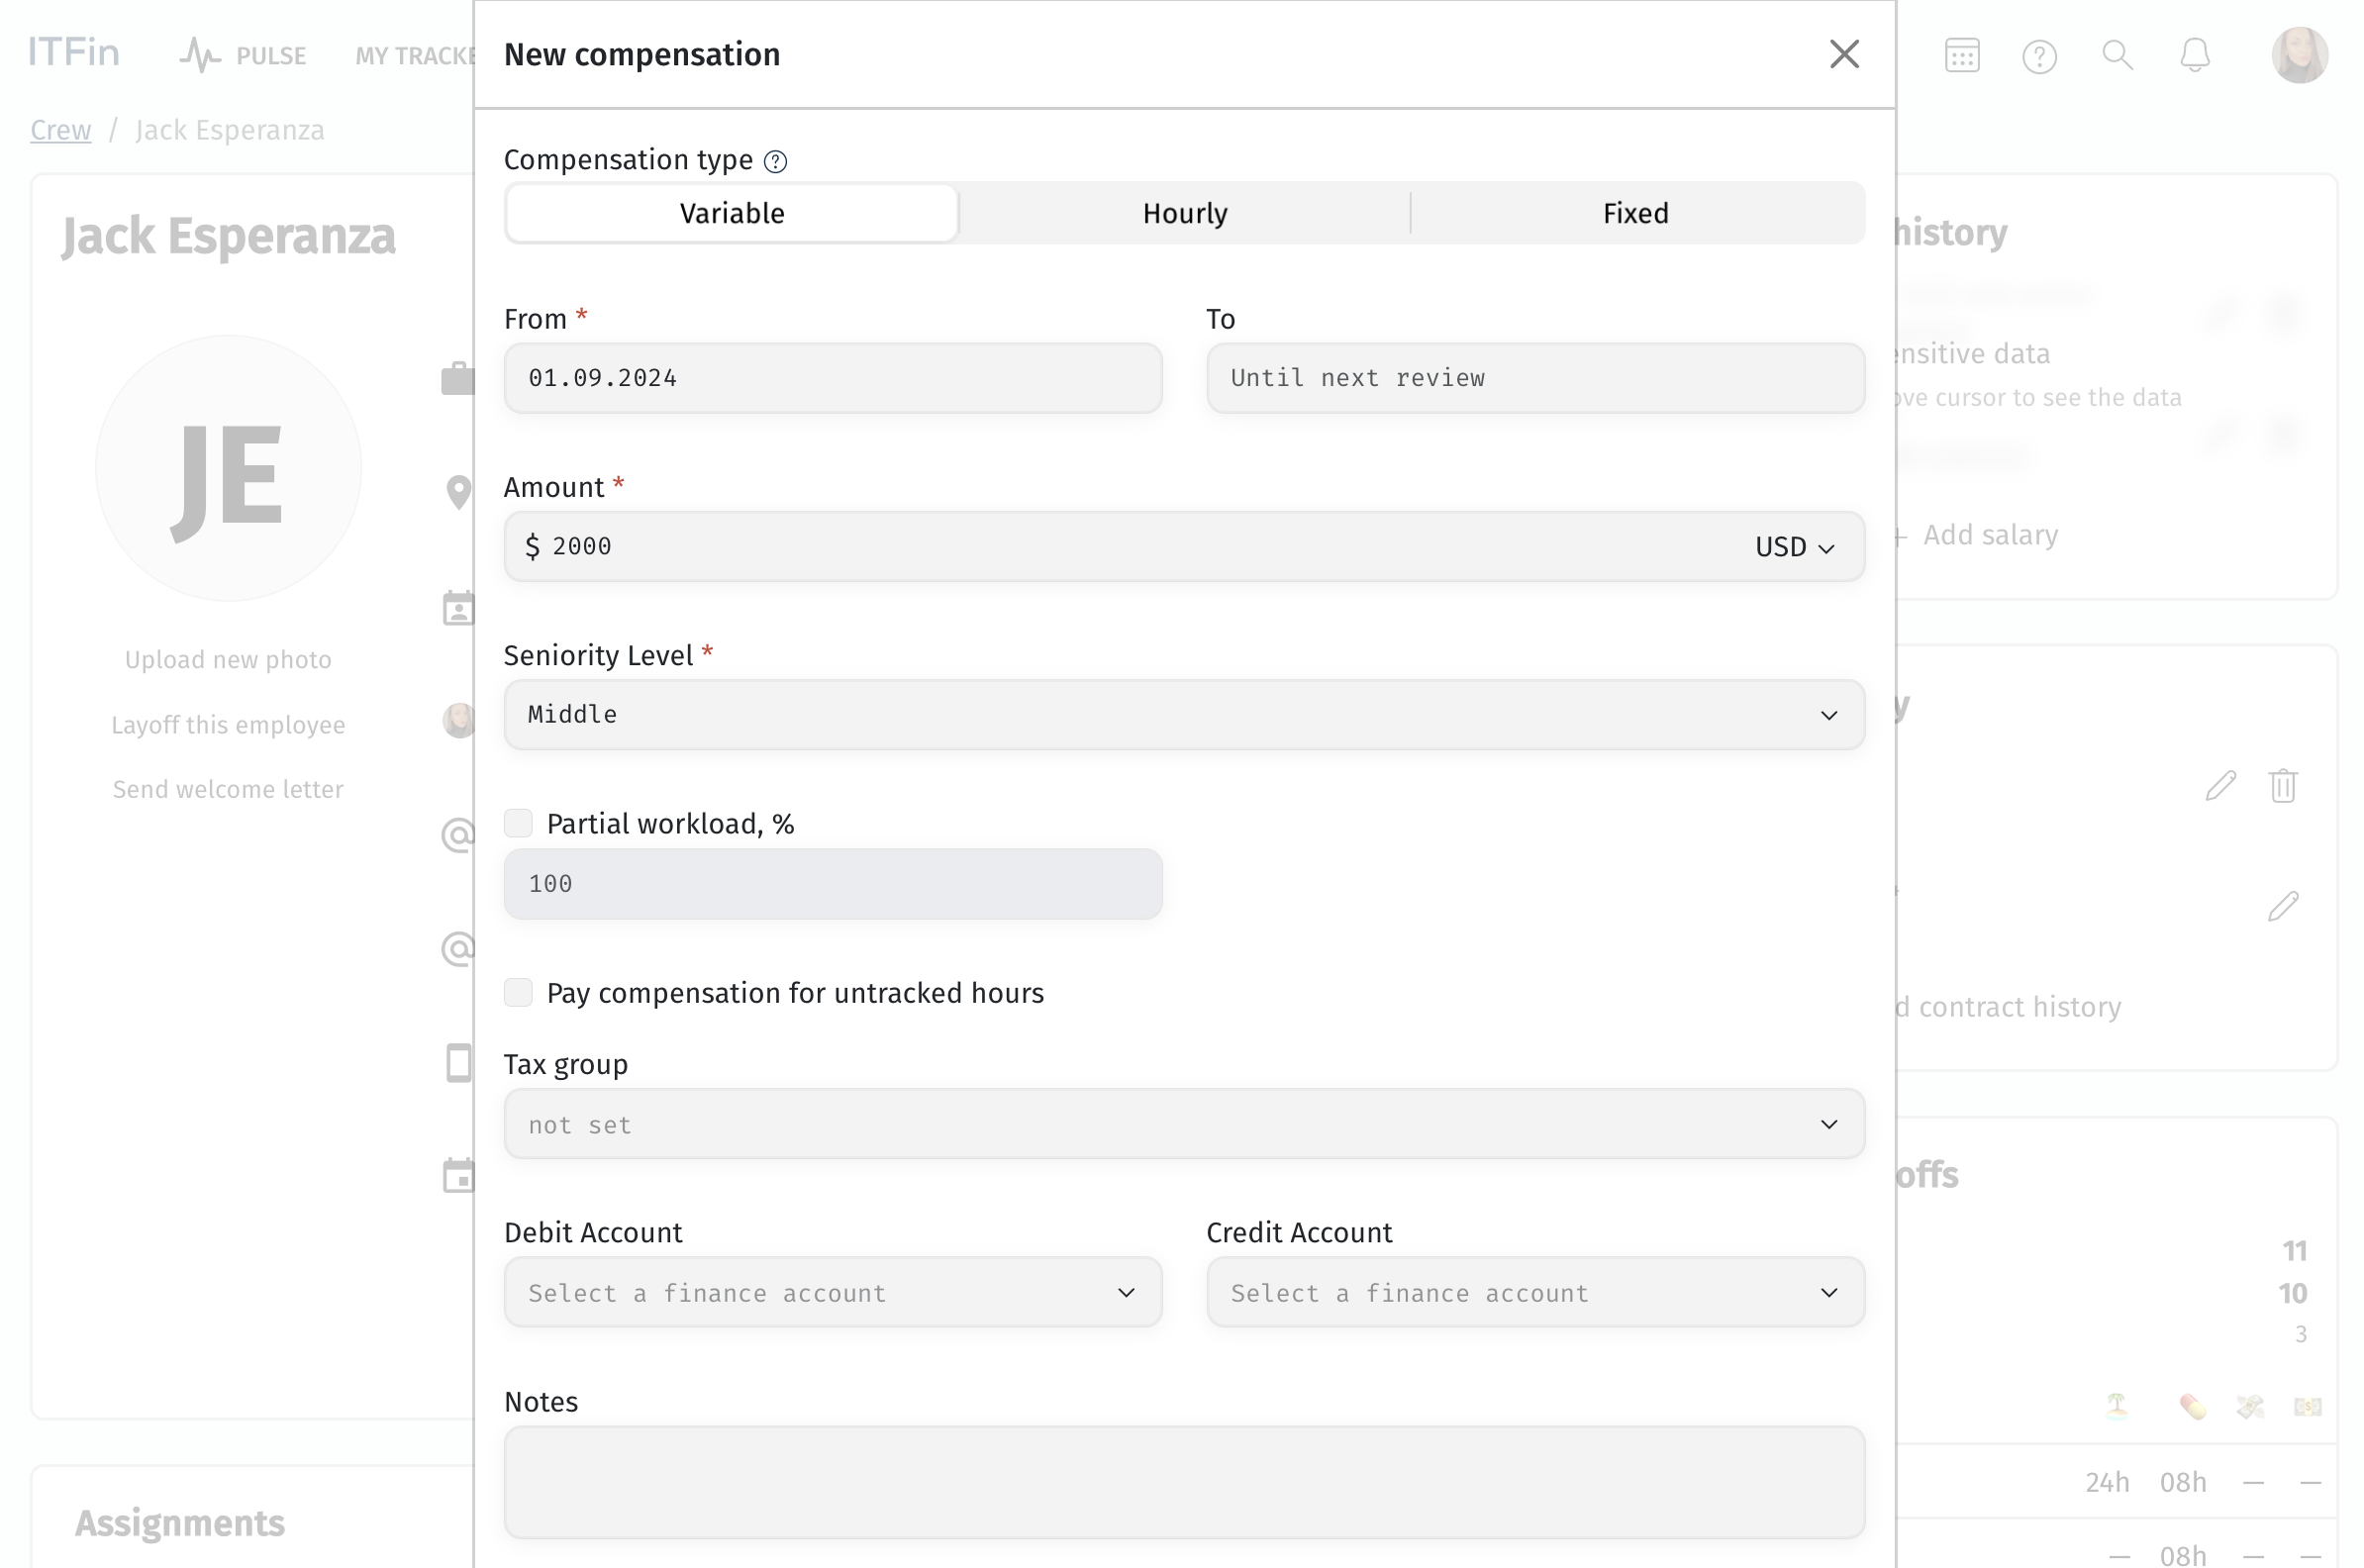
Add new compensation
Protected Salary
The Protected Salary feature is used to restrict access to salary information for individual employees (for example, executives or C-level roles).
If protection is enabled for an employee, their compensation will be hidden from users who don't have the corresponding access scope.
How to enable salary protection
To mark an employee as having a protected salary:
-
Open the employee's profile
-
Click "Edit Profile"
-
Enable the checkbox "This employee has a protected salary"
-
Save the changes
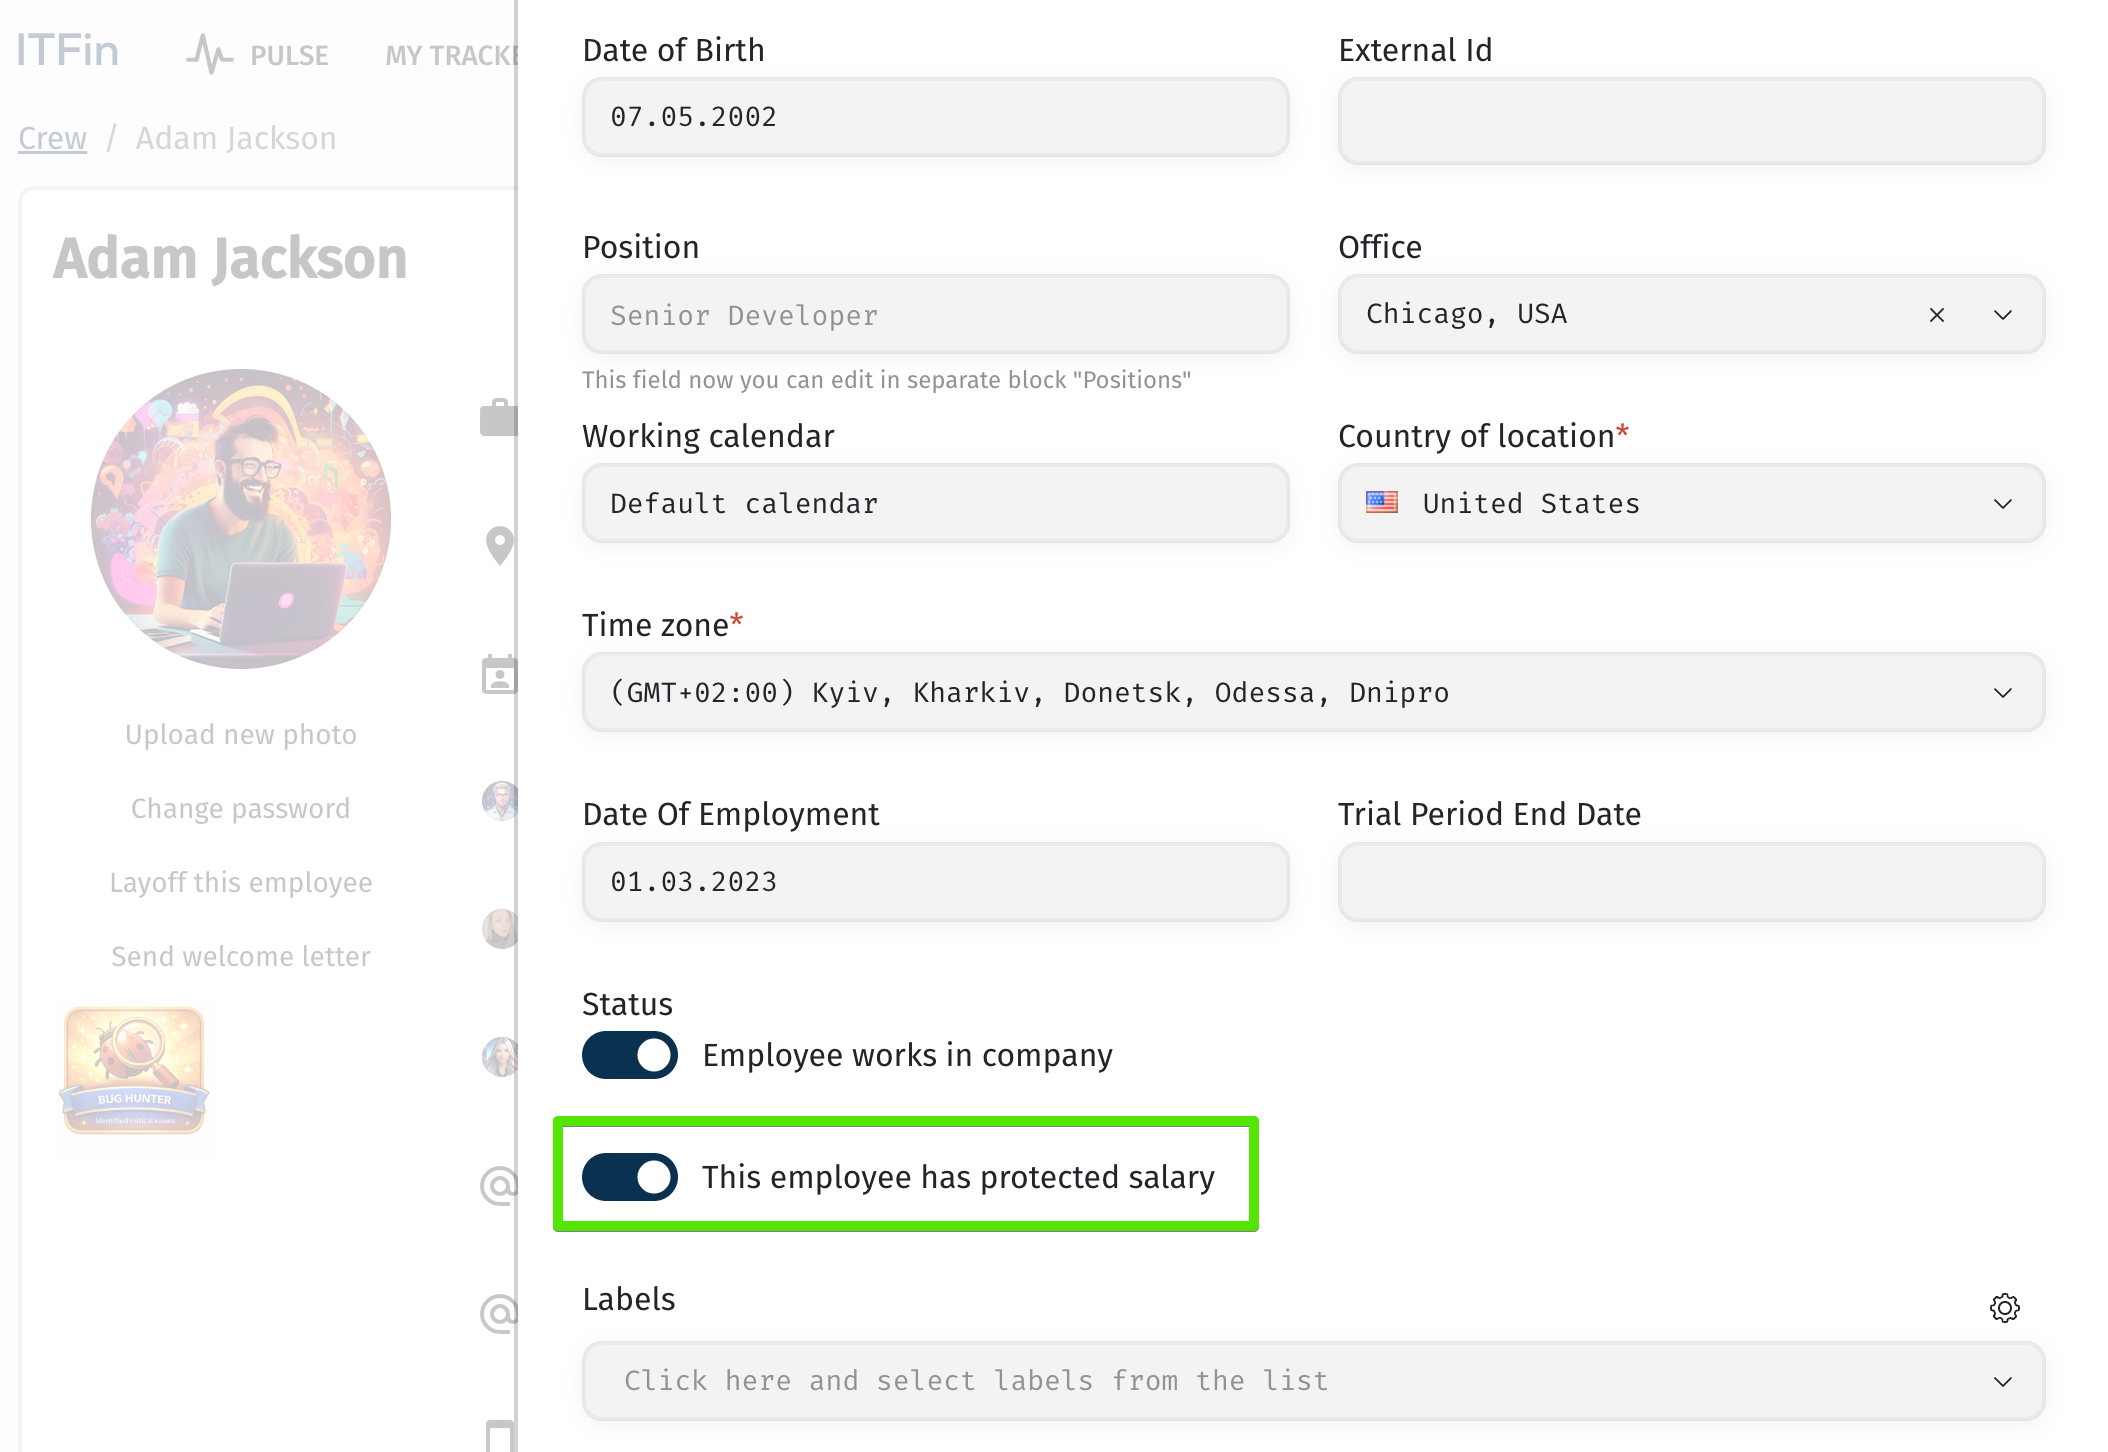
After this, the employee's salary will be hidden according to access permission settings.
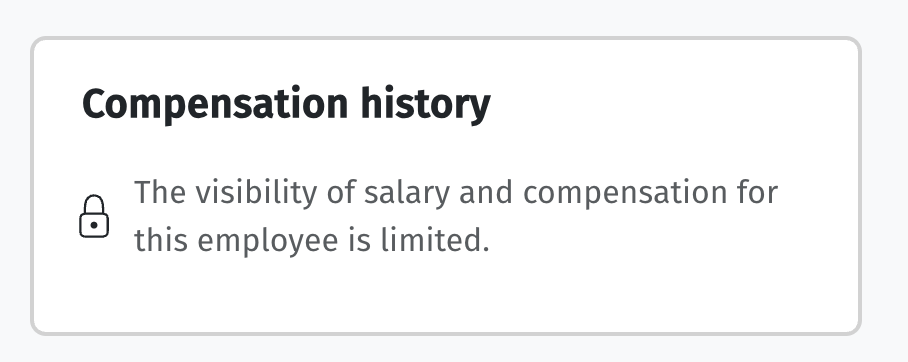
Access to protected salary is controlled by the employees_manage_protected_salary scope, which allows viewing protected compensation.
If a user doesn't have this scope, salaries of employees with Protected Salary enabled will be hidden from them.
Important:
• Protected Salary should be applied to executives and C-level roles.
• HR and other roles may have access to salaries through their own scopes, but not to protected compensation.
• If Protected Salary is enabled for all employees, only users with the
• Protected Salary is an additional layer of protection on top of regular scopes.
Recommended logic:
• Employees see only their own salary.
• HR and Finance see other employees' salaries, except those with Protected Salary enabled.
• Executives can be marked with the Protected Salary flag.
• Users with the
Terminating an employee with Protected Salary
Terminating an employee with Protected Salary
If Protected Salary is enabled for an employee, only a user with the
Taxes
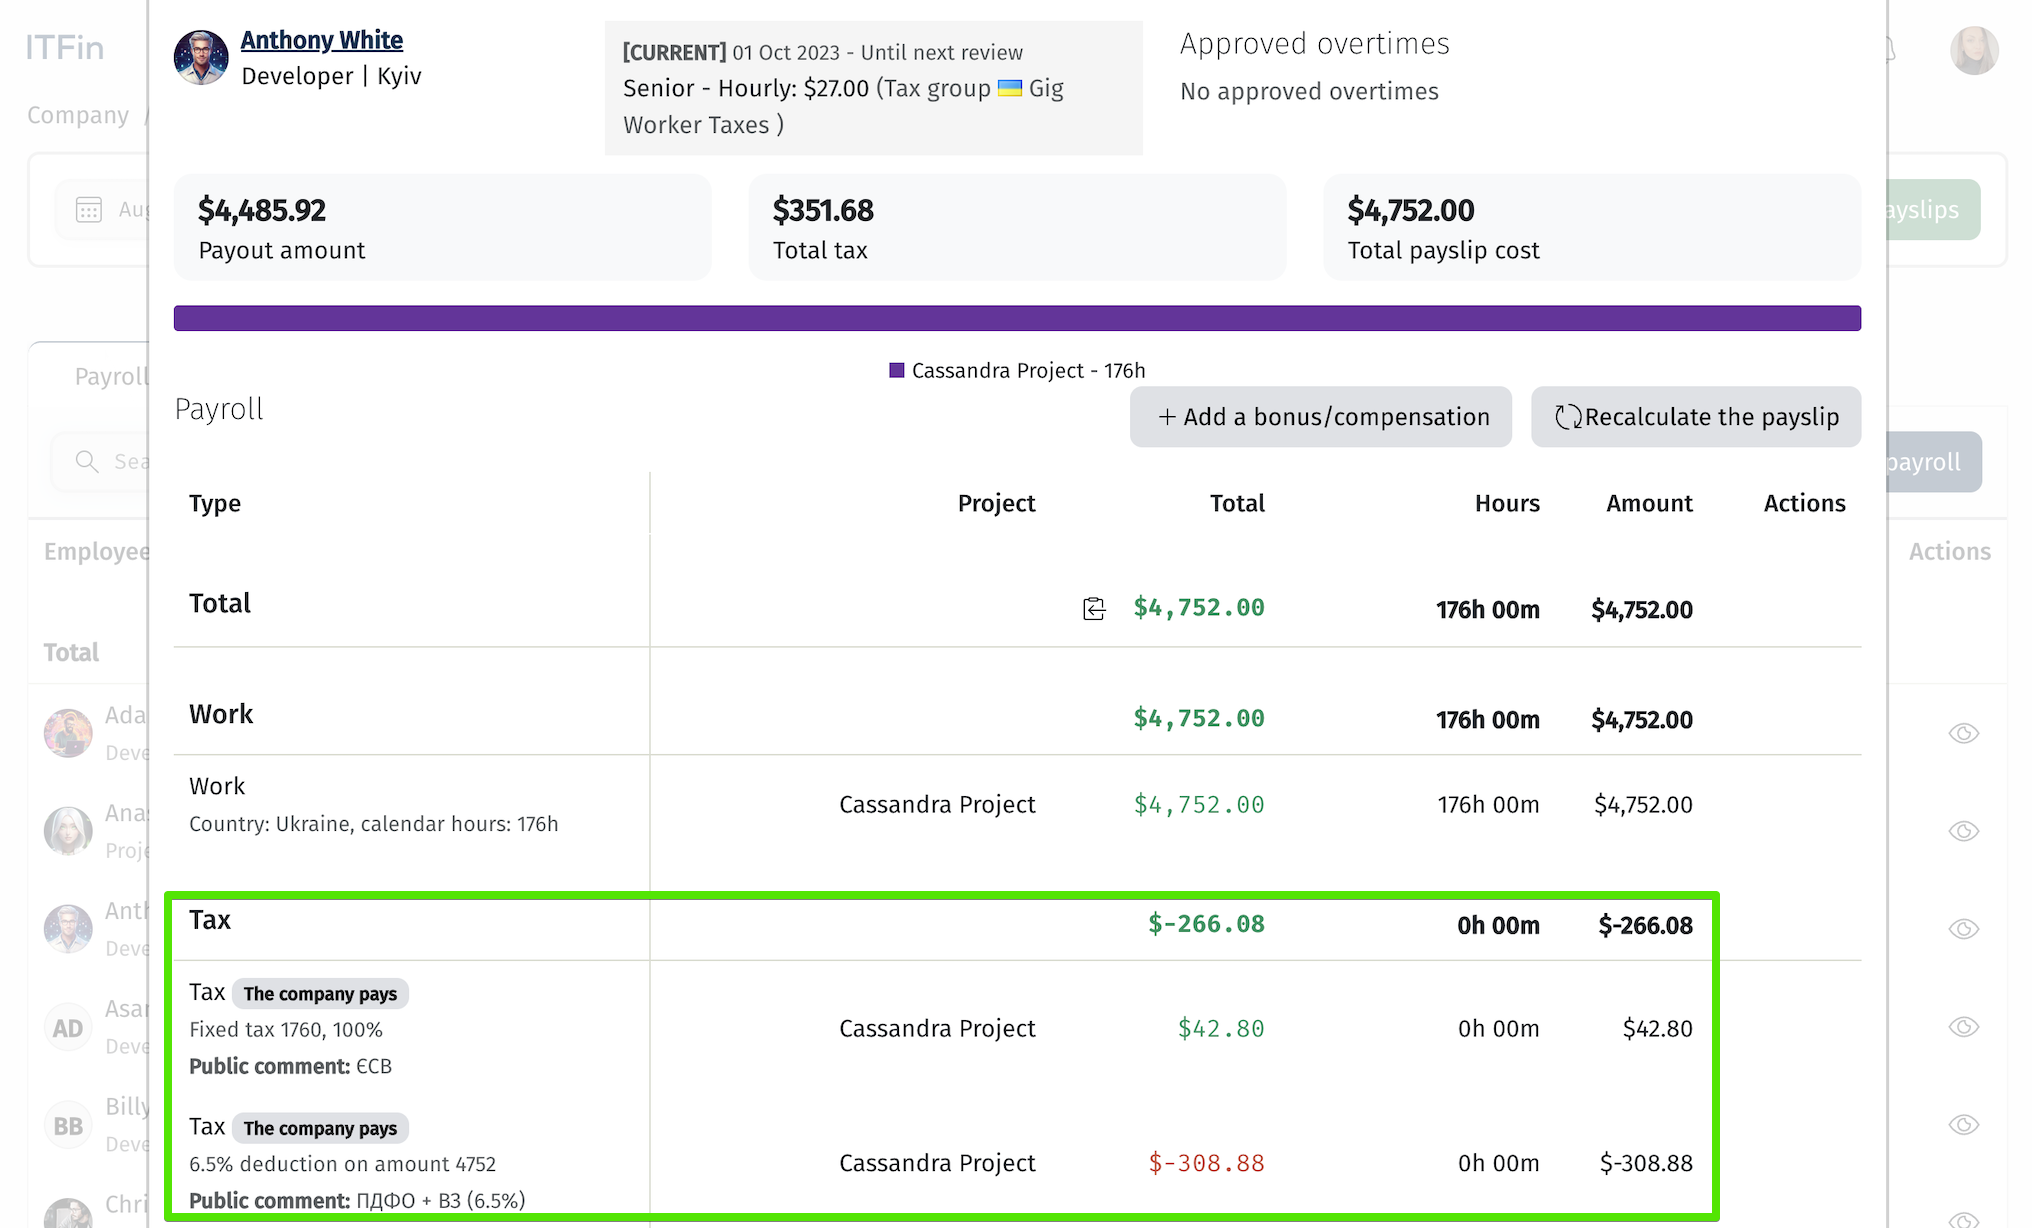
In the ITFin system, you can add tax contributions covered by the company. The main tax groups used within the company should be added under Company > Settings > Taxes.
When adding compensation for an employee, you need to specify the details of tax contributions.
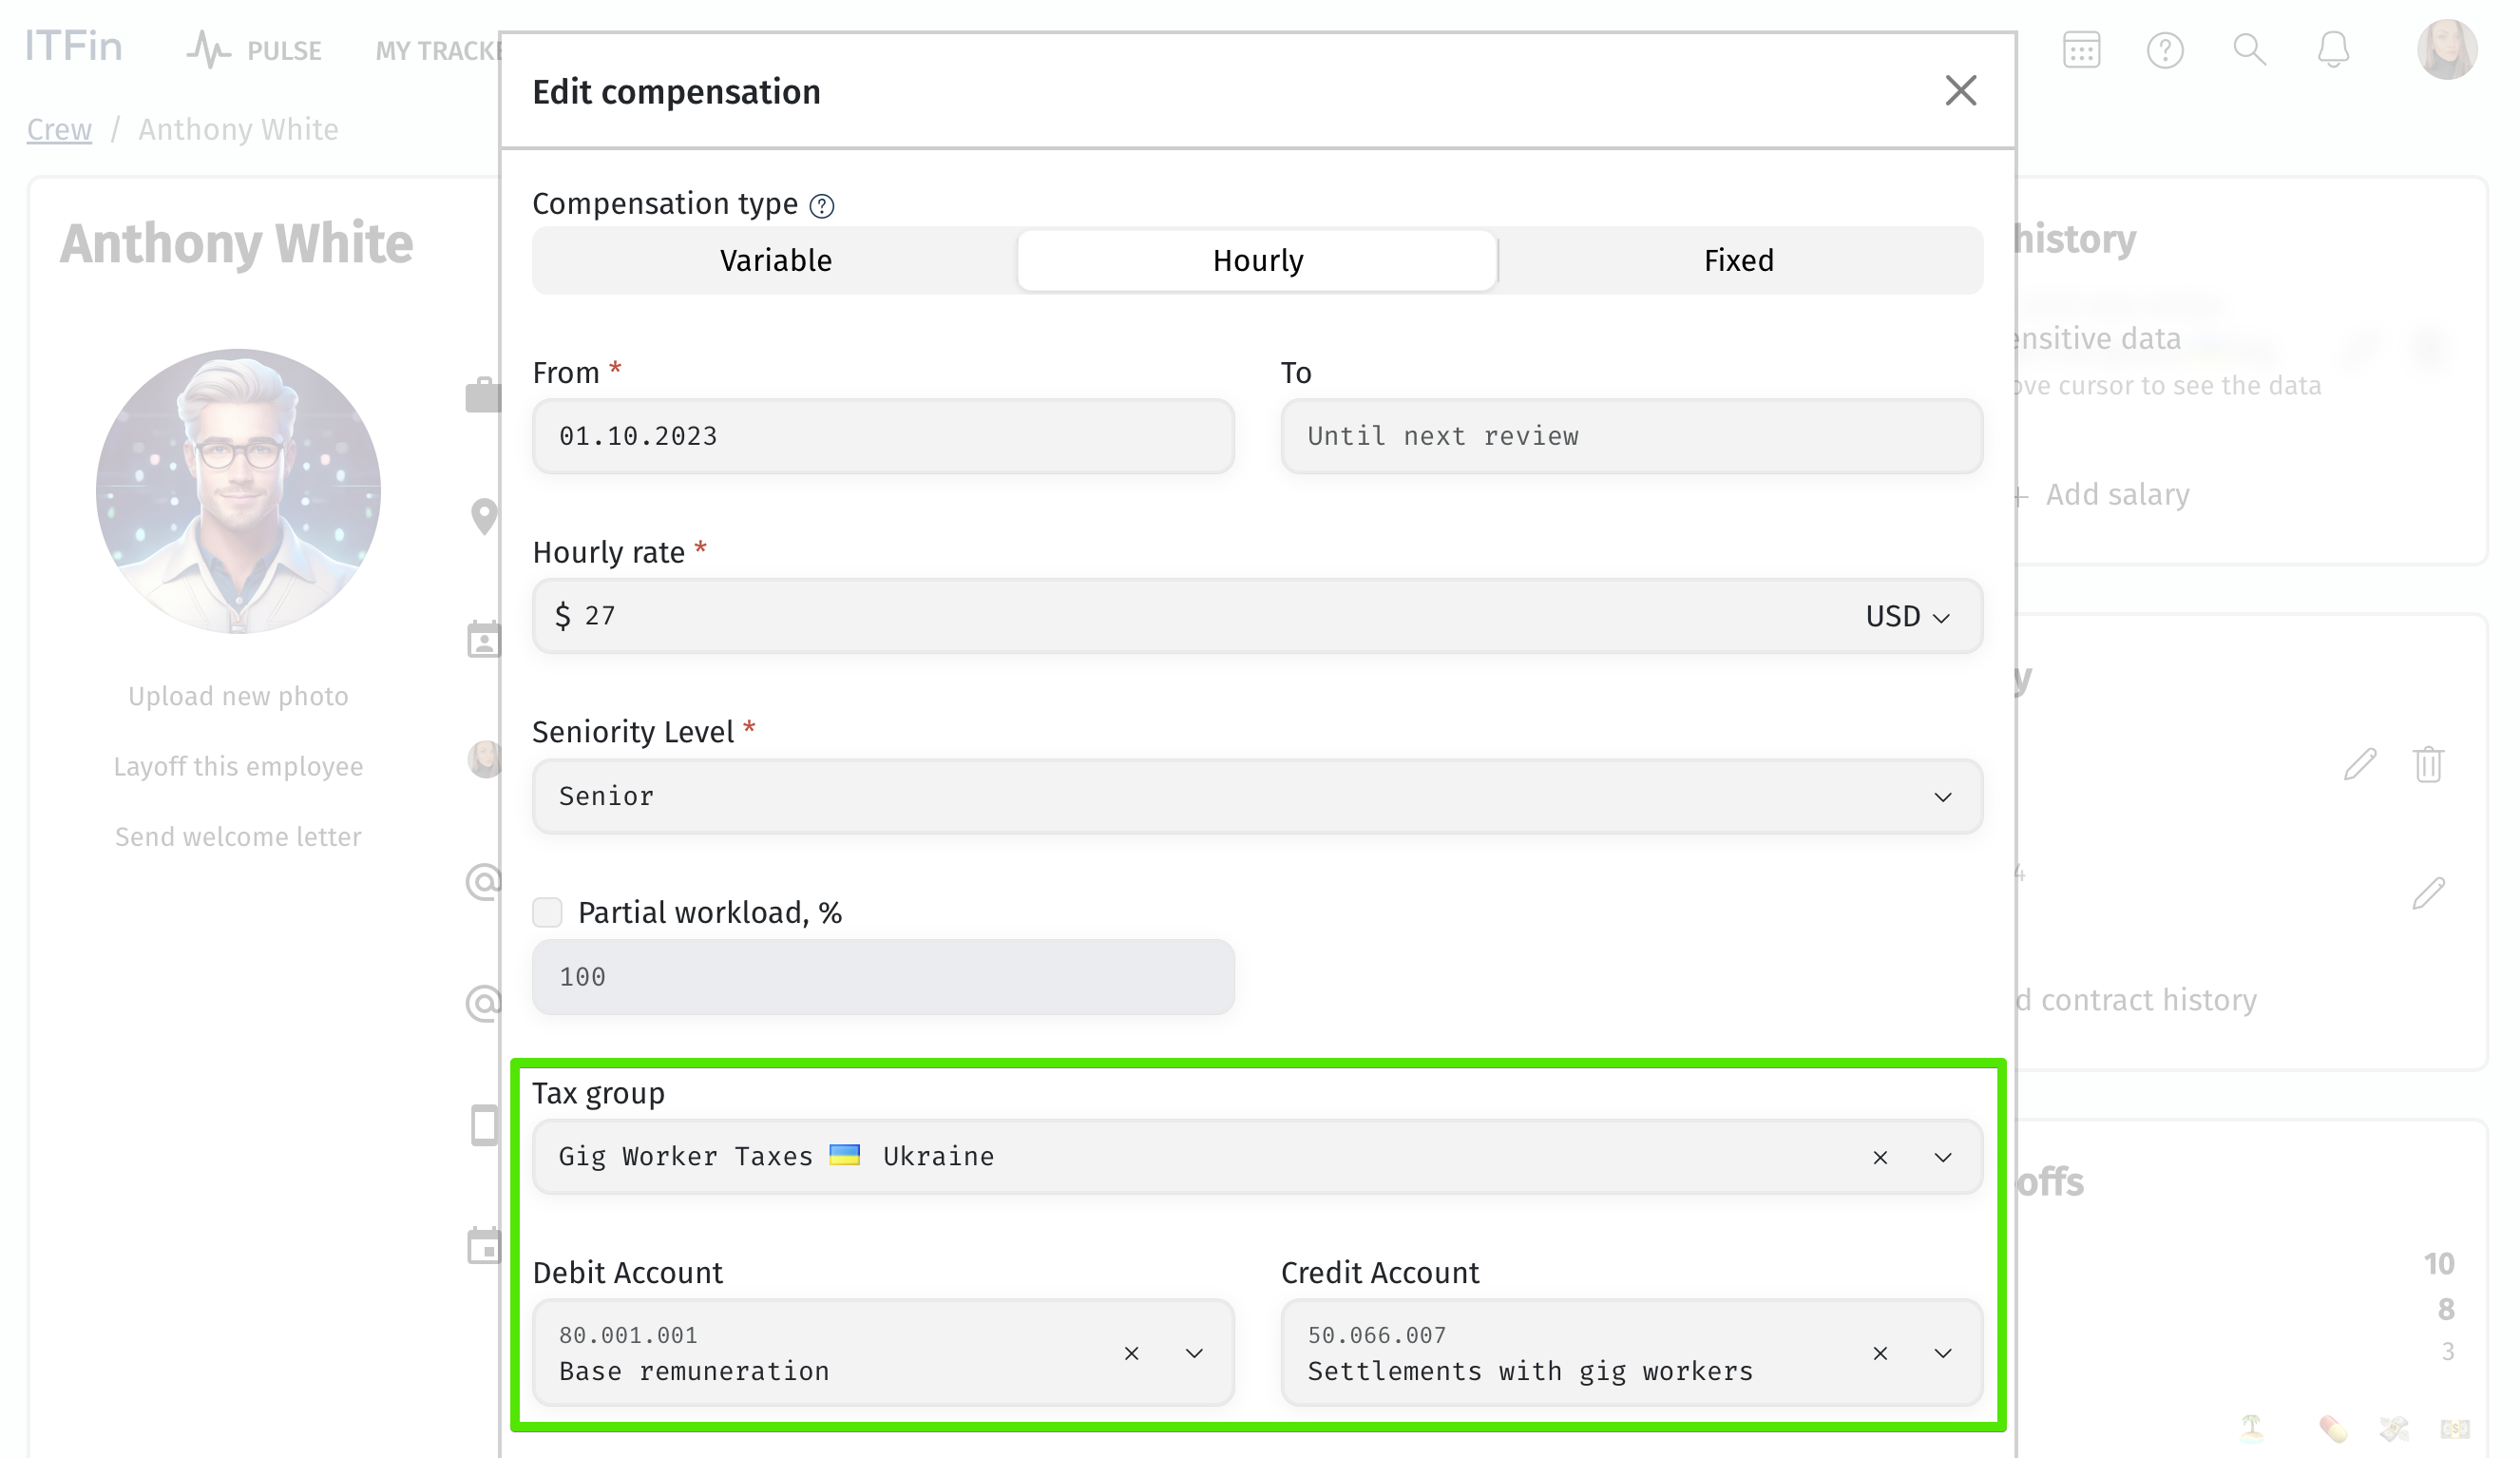
Let’s consider an example where the company covers taxes for Gig workers. We have added this tax group in the general settings and specified it in the employee’s profile.
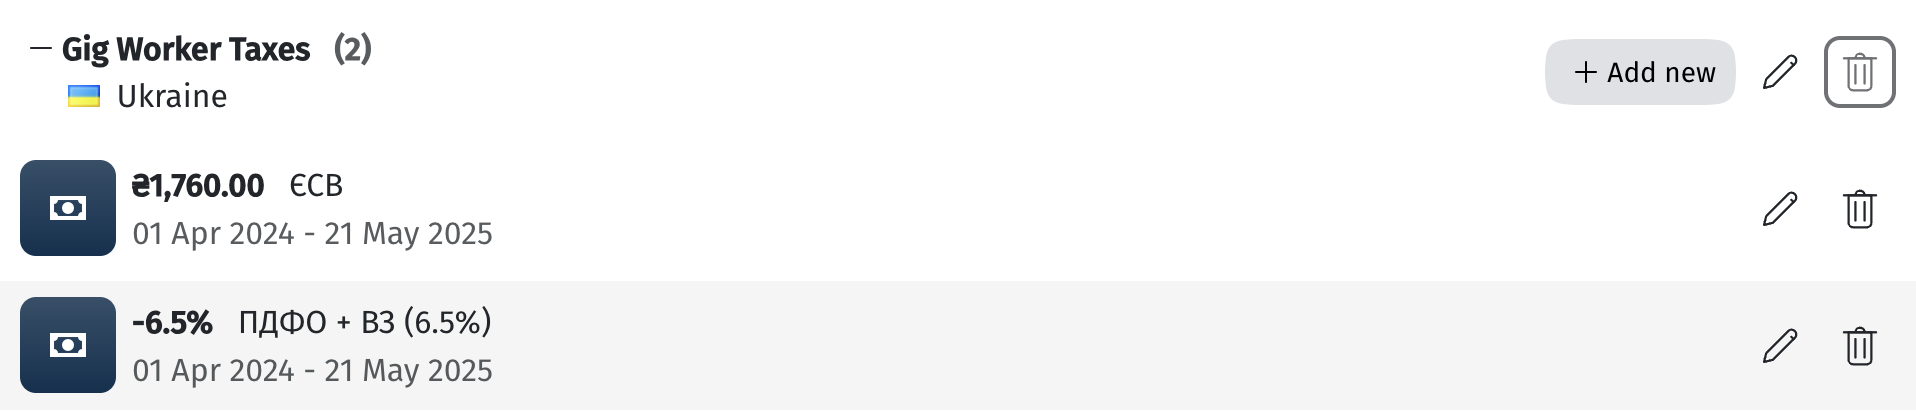
After this, we can check the tax calculations in the Payroll.