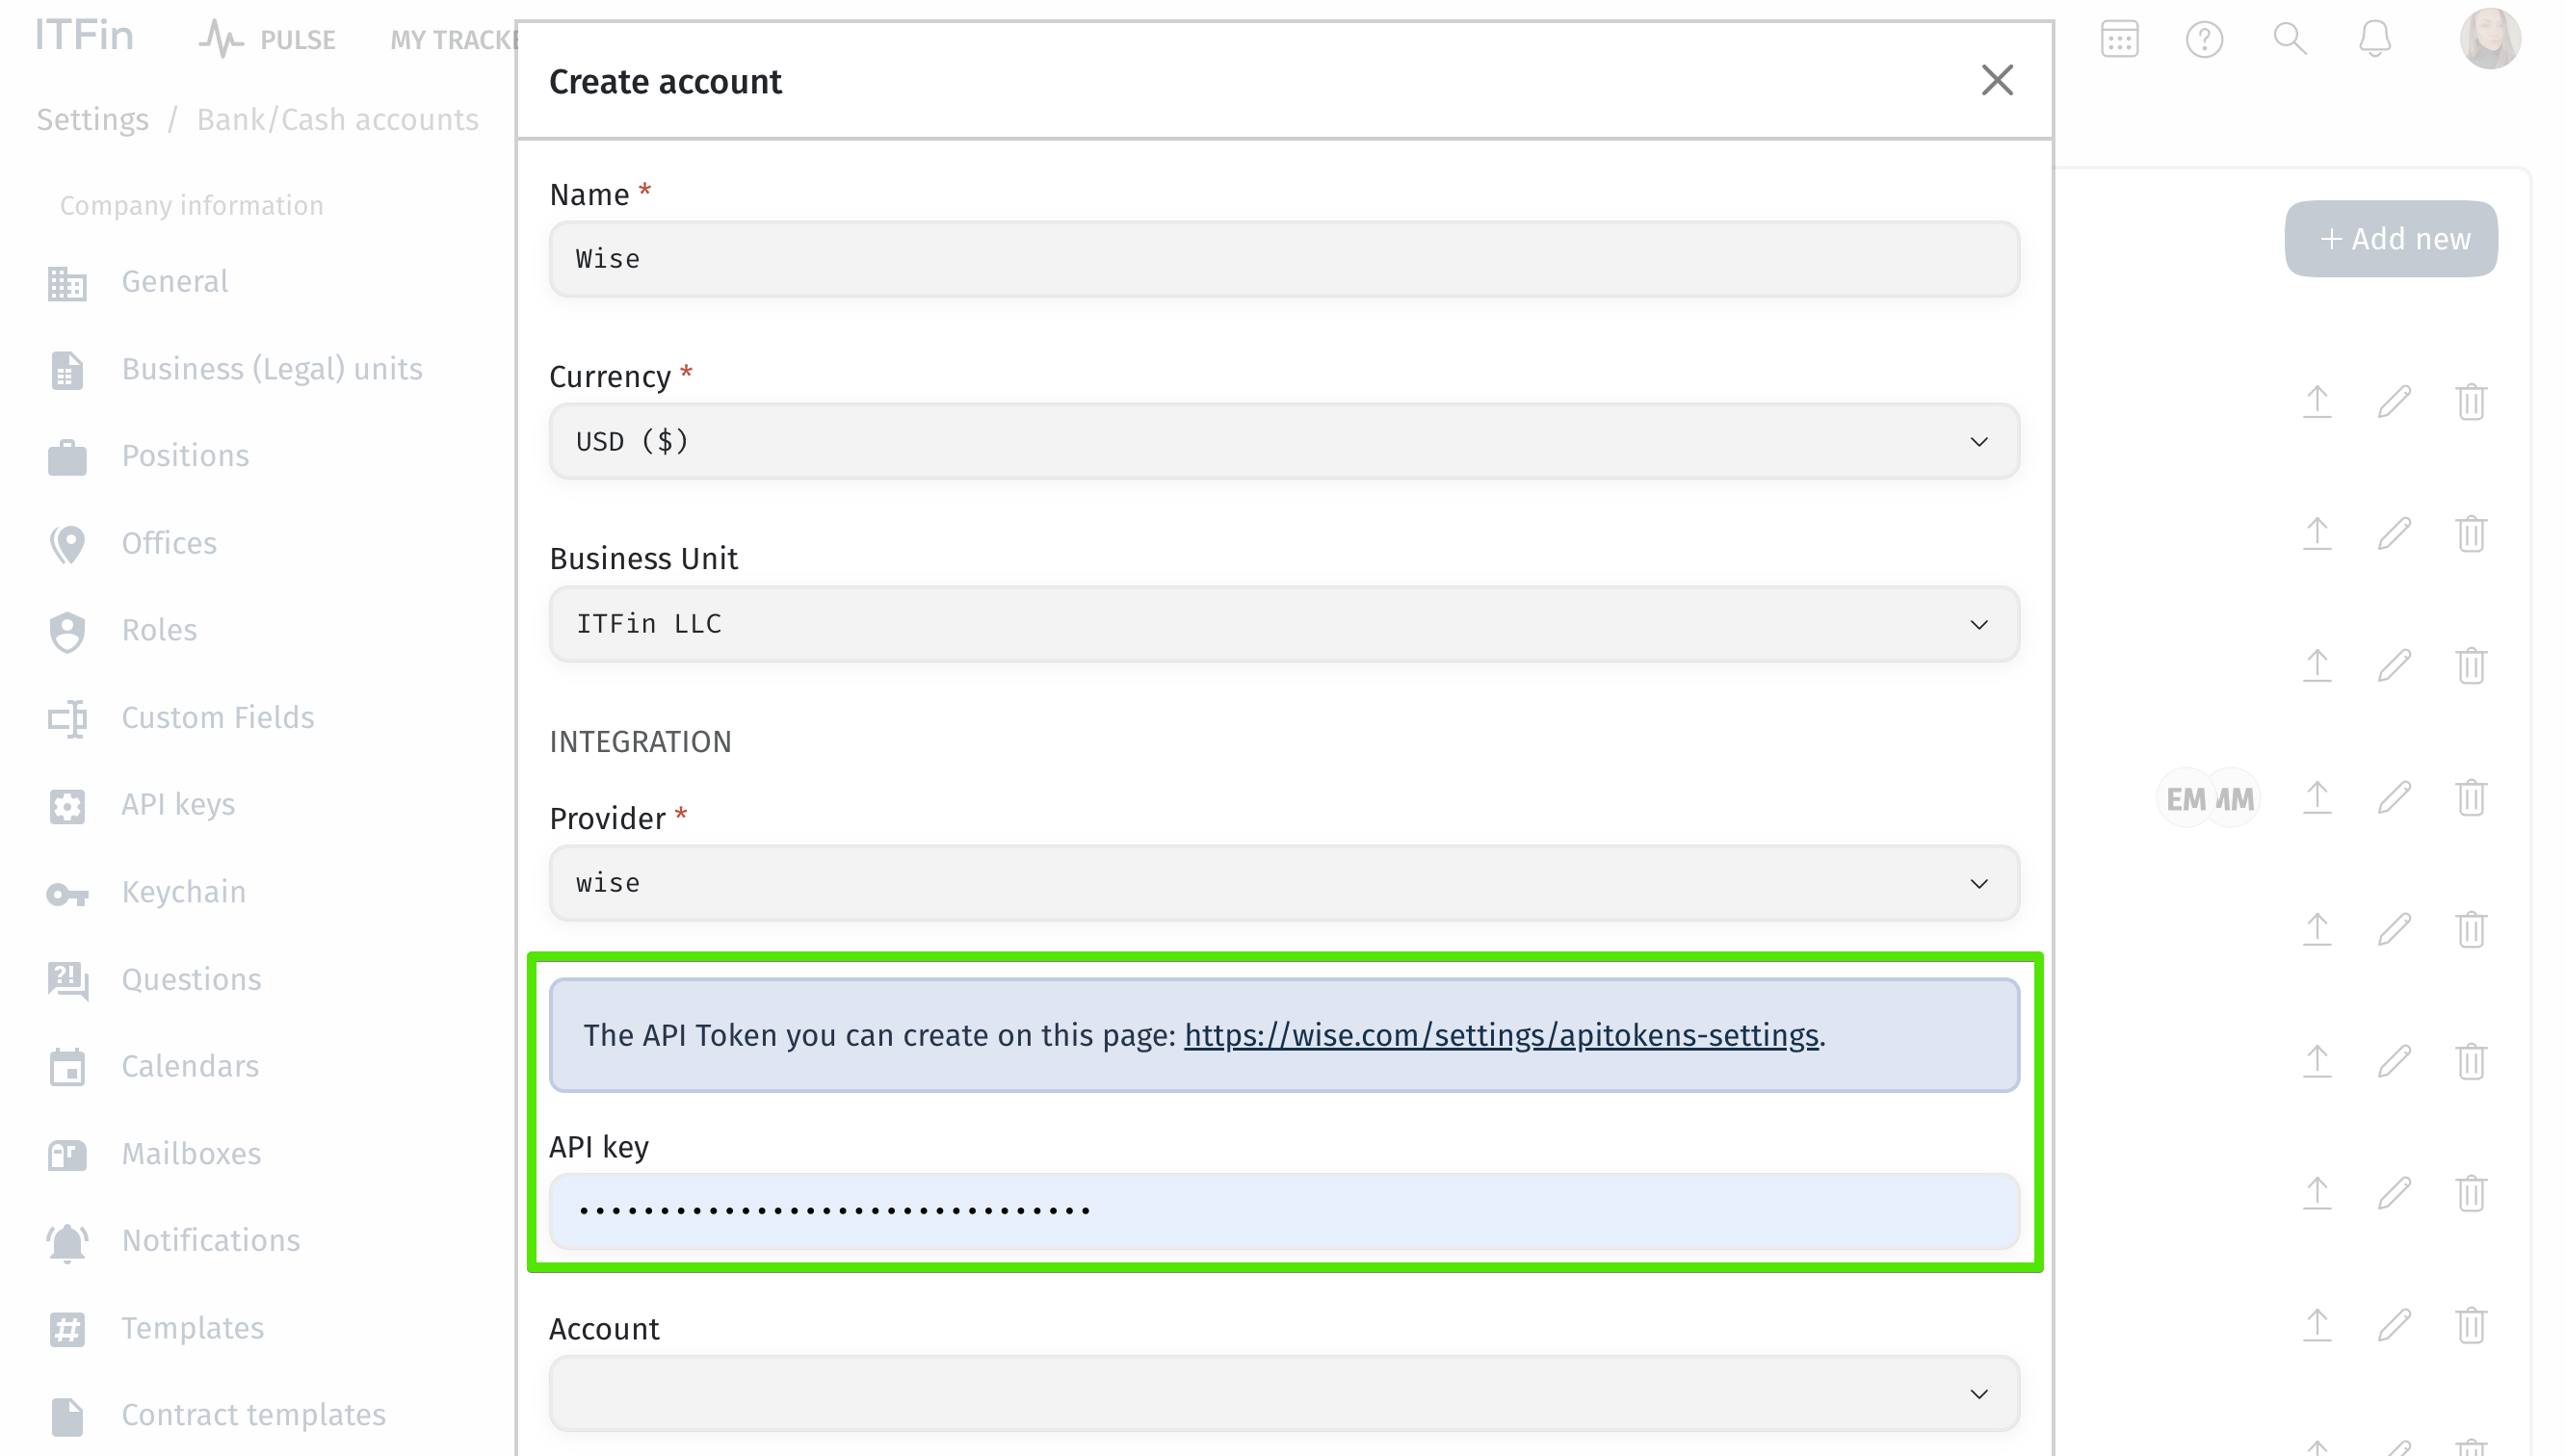
In the section Settings > Bank and cash accounts, you must add the company’s accounts in banks and payment systems and set the starting balance on the selected date from which you will begin accounting in ITFin.

Currently, we have automatic integration with Ukrainian banks PrivatBank and Monobank (JSC “UNIVERSAL BANK”), financial services Wise and Qonto, as well as with the freelance platform Upwork.
You do not need to upload the statement itself. When you generate the API key and enter your token in the corresponding field while creating the account, you should click the button and specify the period from which to fetch transactions, and they will appear in the system.

With other banks/systems, the integration is semi-automatic; you need to upload the statement, and the system will allocate it to transactions. You can upload statements for accounts from the Bank and Cash Accounts section or go to Company > Accounts Dashboard and select the relevant account.
The system allows for the creation of manual entry accounts, where transaction information must be entered manually. To create a manual entry account, select Cash in the Provider field. When adding a transaction manually, you can indicate that it is covered by a client. At the invoice creation stage, there will be a note in the system about the debt and an option to account for it in the invoice.
You can also grant access to certain users so they can upload receipts via a Telegram bot, and the transactions will be sent to the system for approval.
Each transaction should be manually reconciled (assigned to a specific category of expenses or income), so we recommend not selecting overly large prior periods, as it will require a significant amount of time and resources to process the previous transactions.