Installation
Connecting the integration with your Xero account allows you to generate invoices in ITFin based on reported time and export them for sending via Xero.
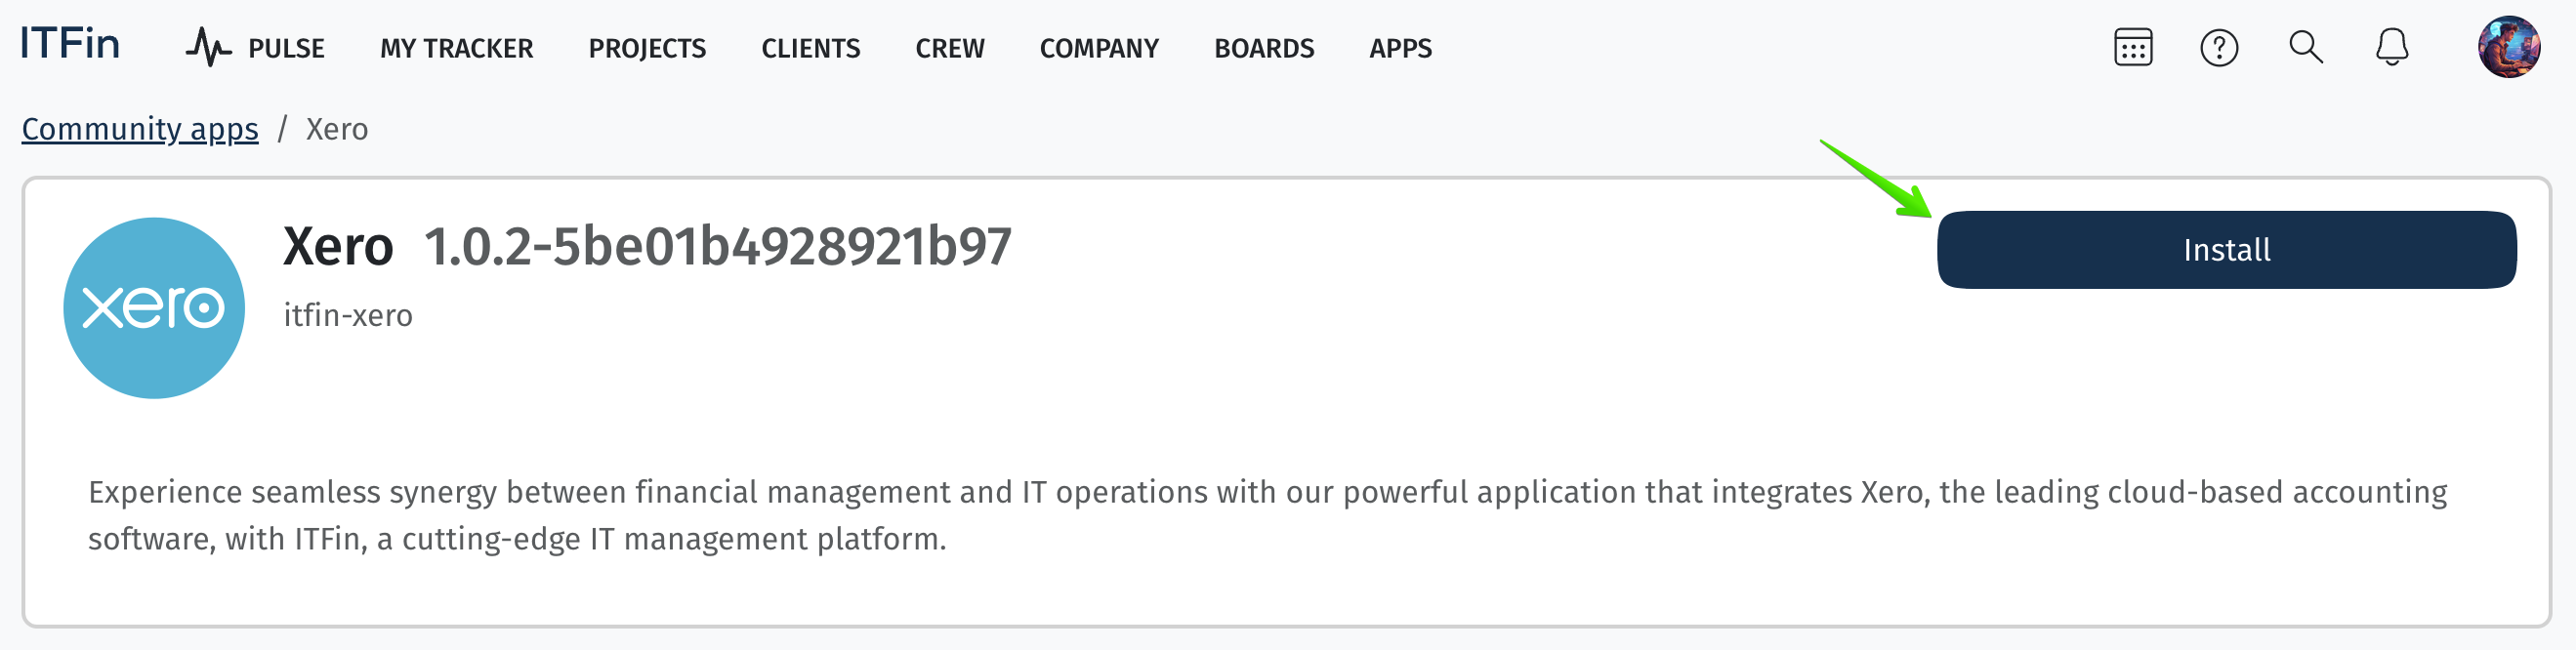
To do this, go to the Apps section, select the Xero app, and click Install.
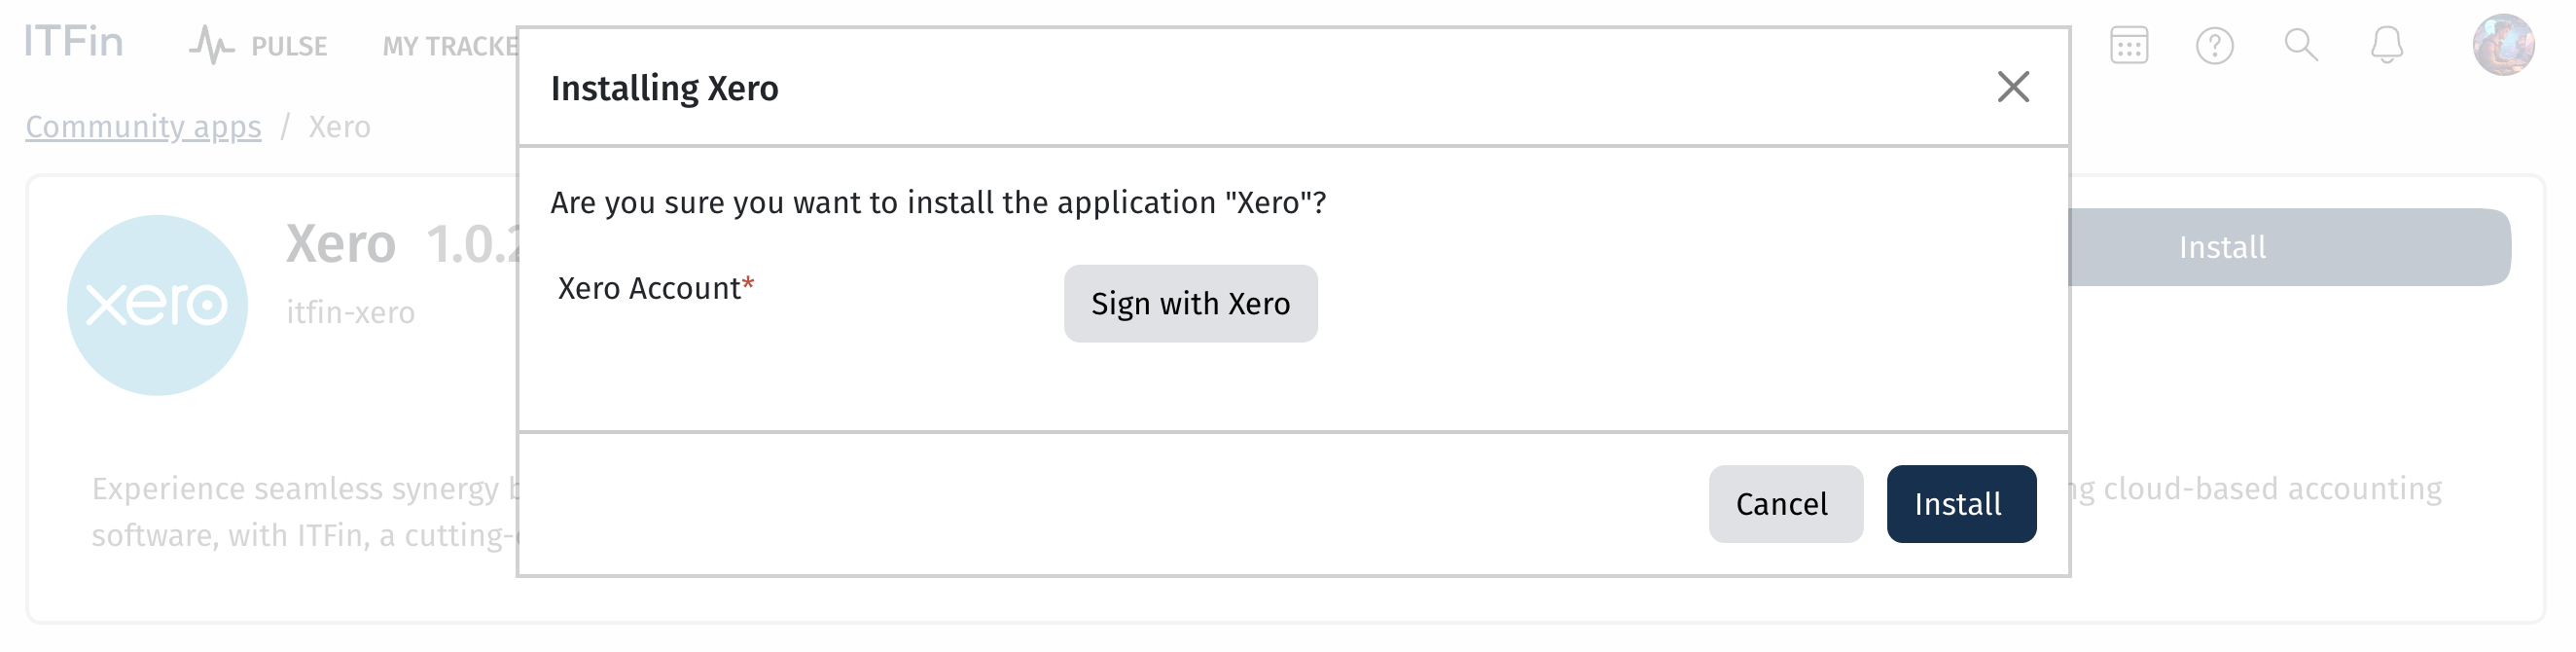
Next, you will need to authorize using your Xero account.
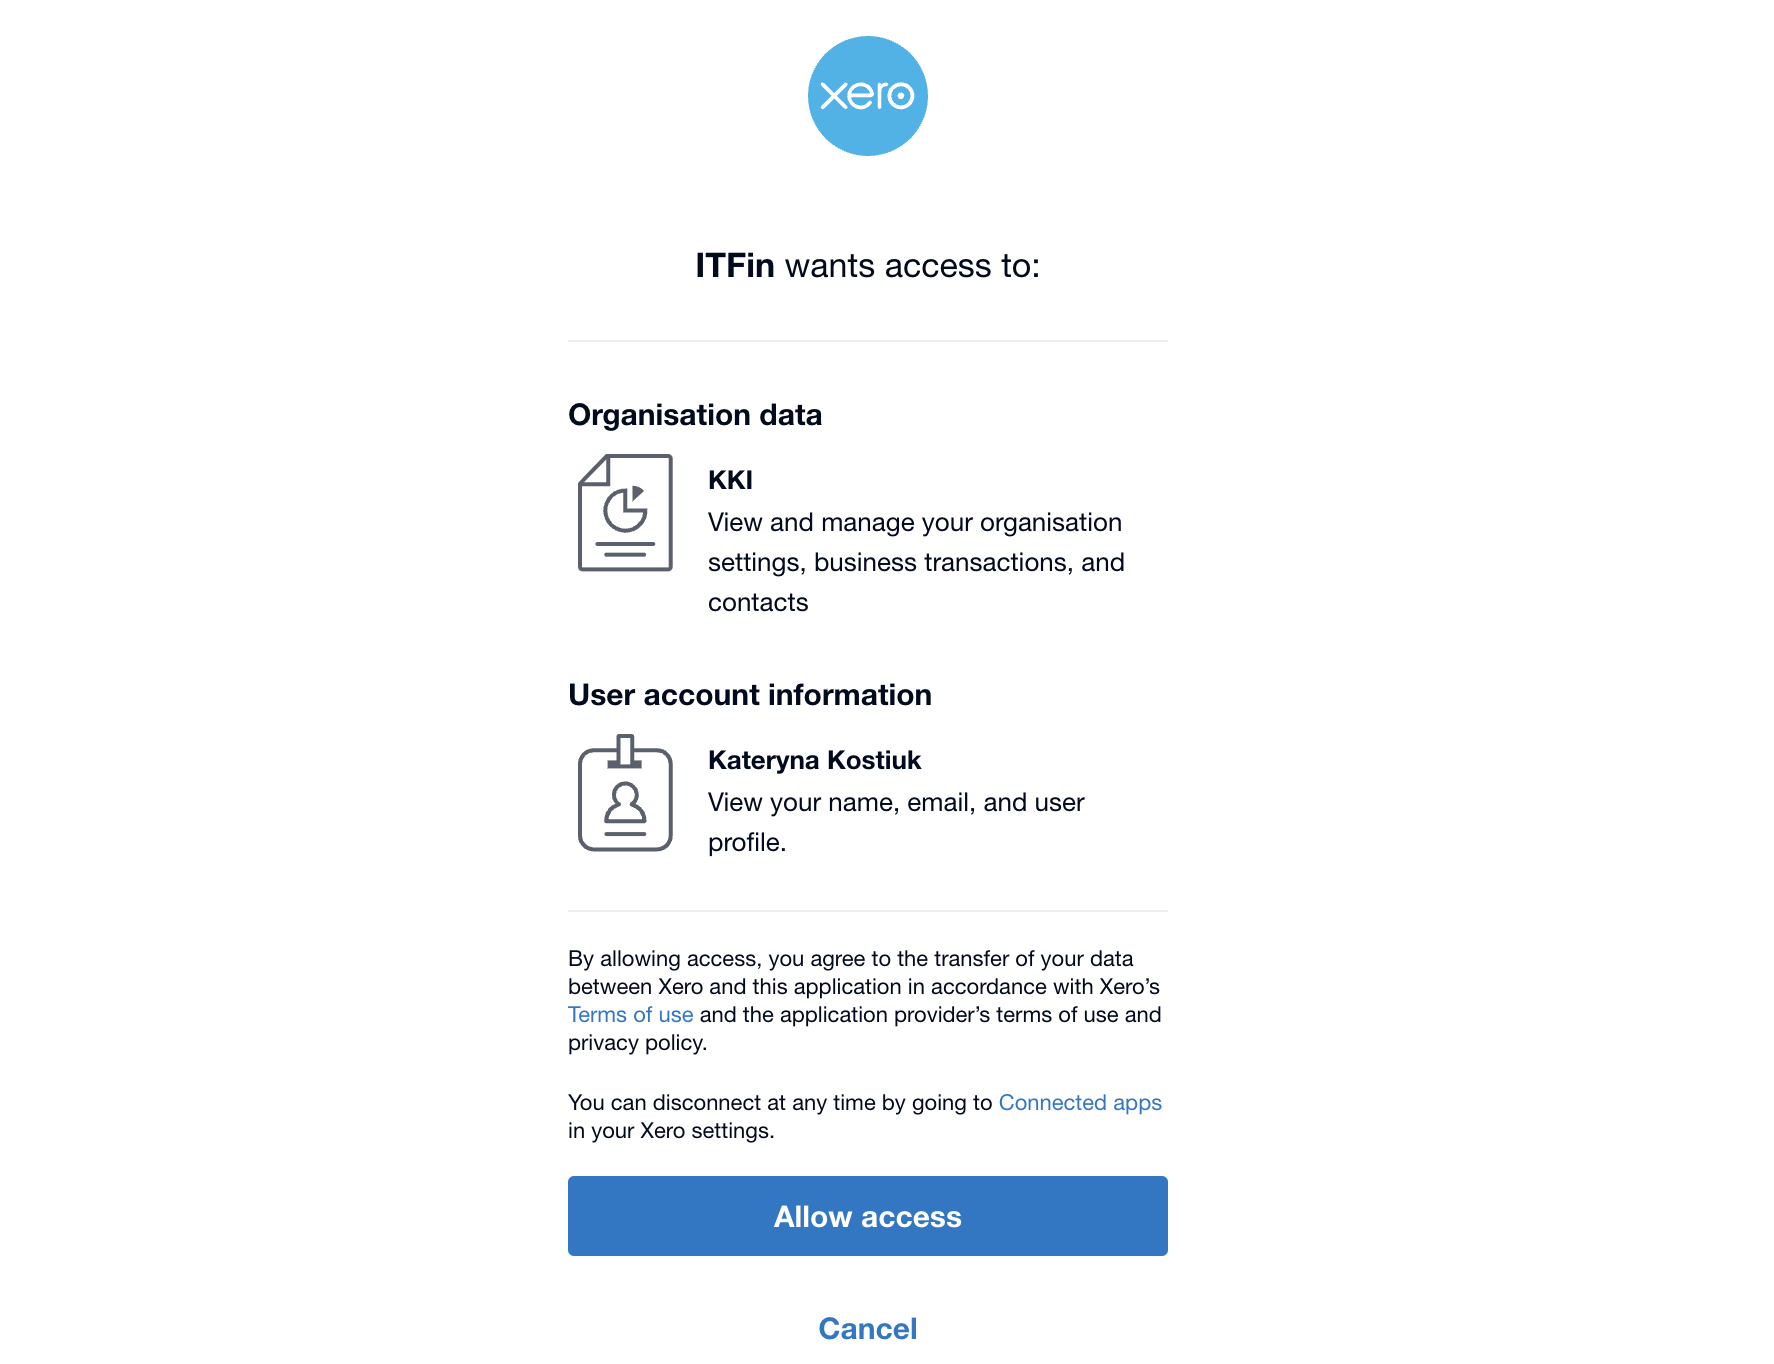
Then, grant ITFin access to your company in Xero.
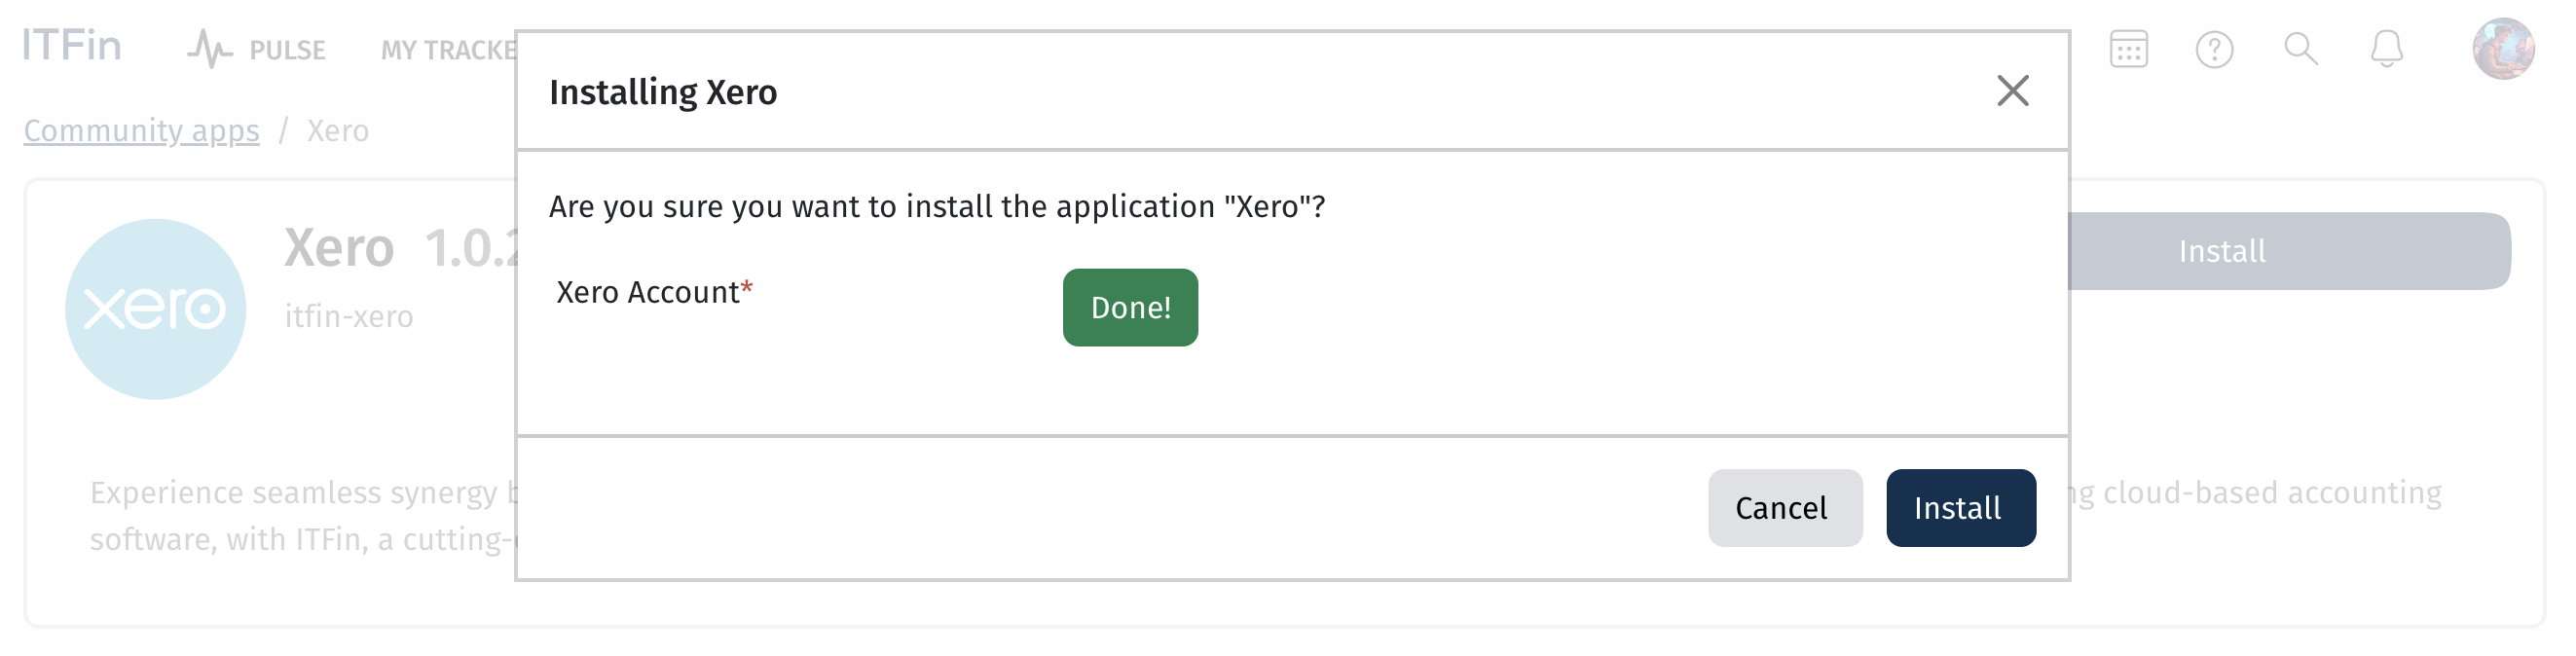
After successful authorization, click the Install button.
Once installed, you can remove the integration or connect a different Xero account via the Change Settings button.

How does the integration work?
In the Invoices section, additional buttons appear: Import from Xero and Sync Xero invoices.
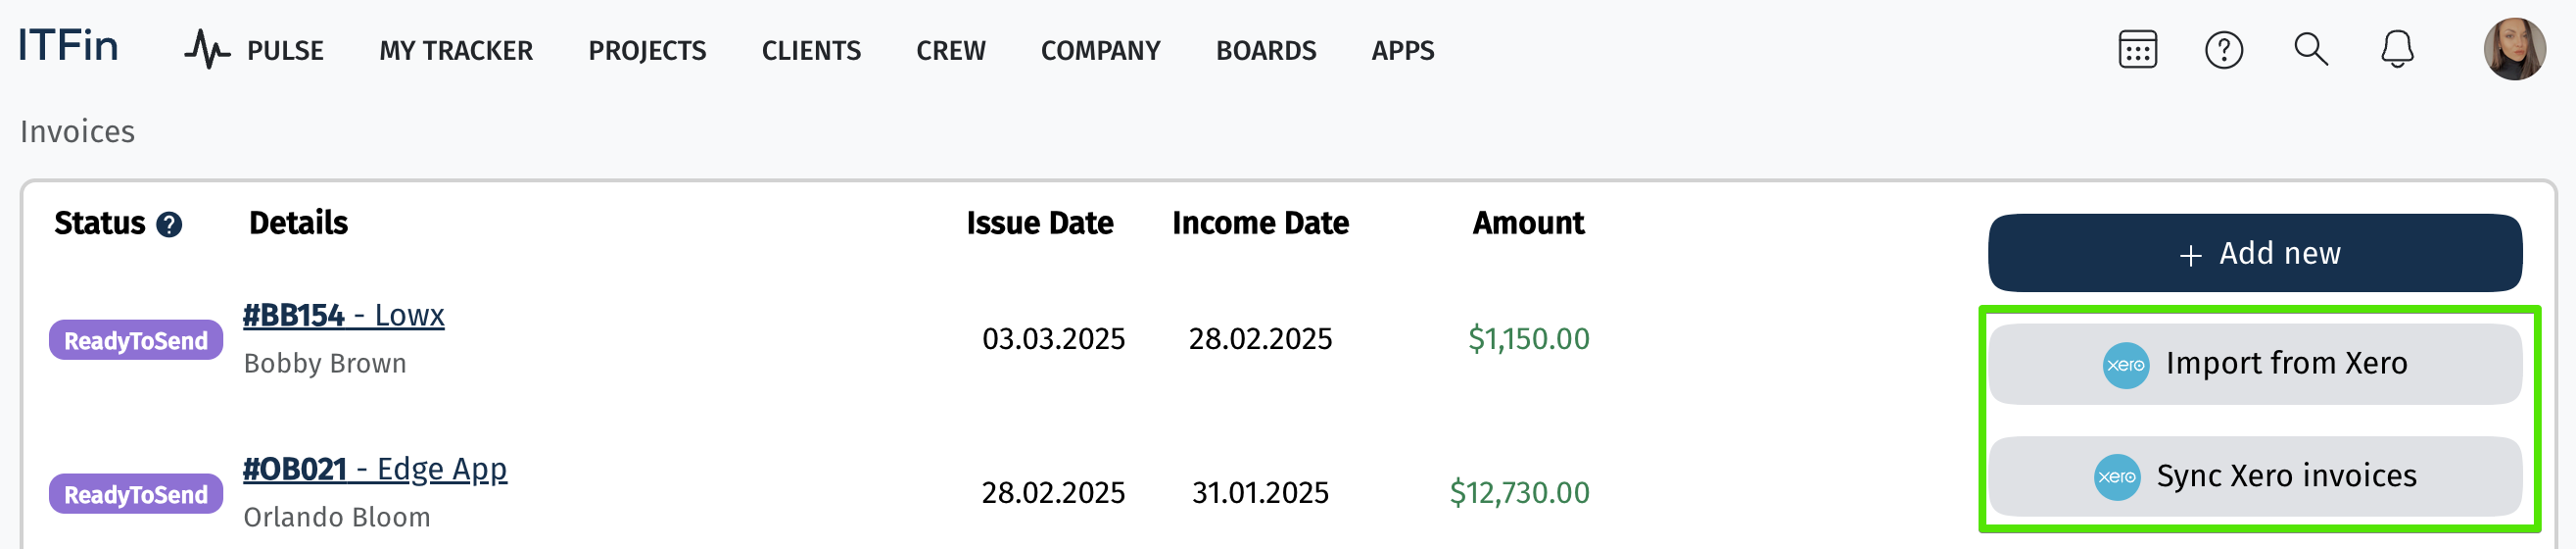
The Import from Xero button allows you to import invoices into ITFin. Let’s consider an example of a pre-created invoice in Xero.
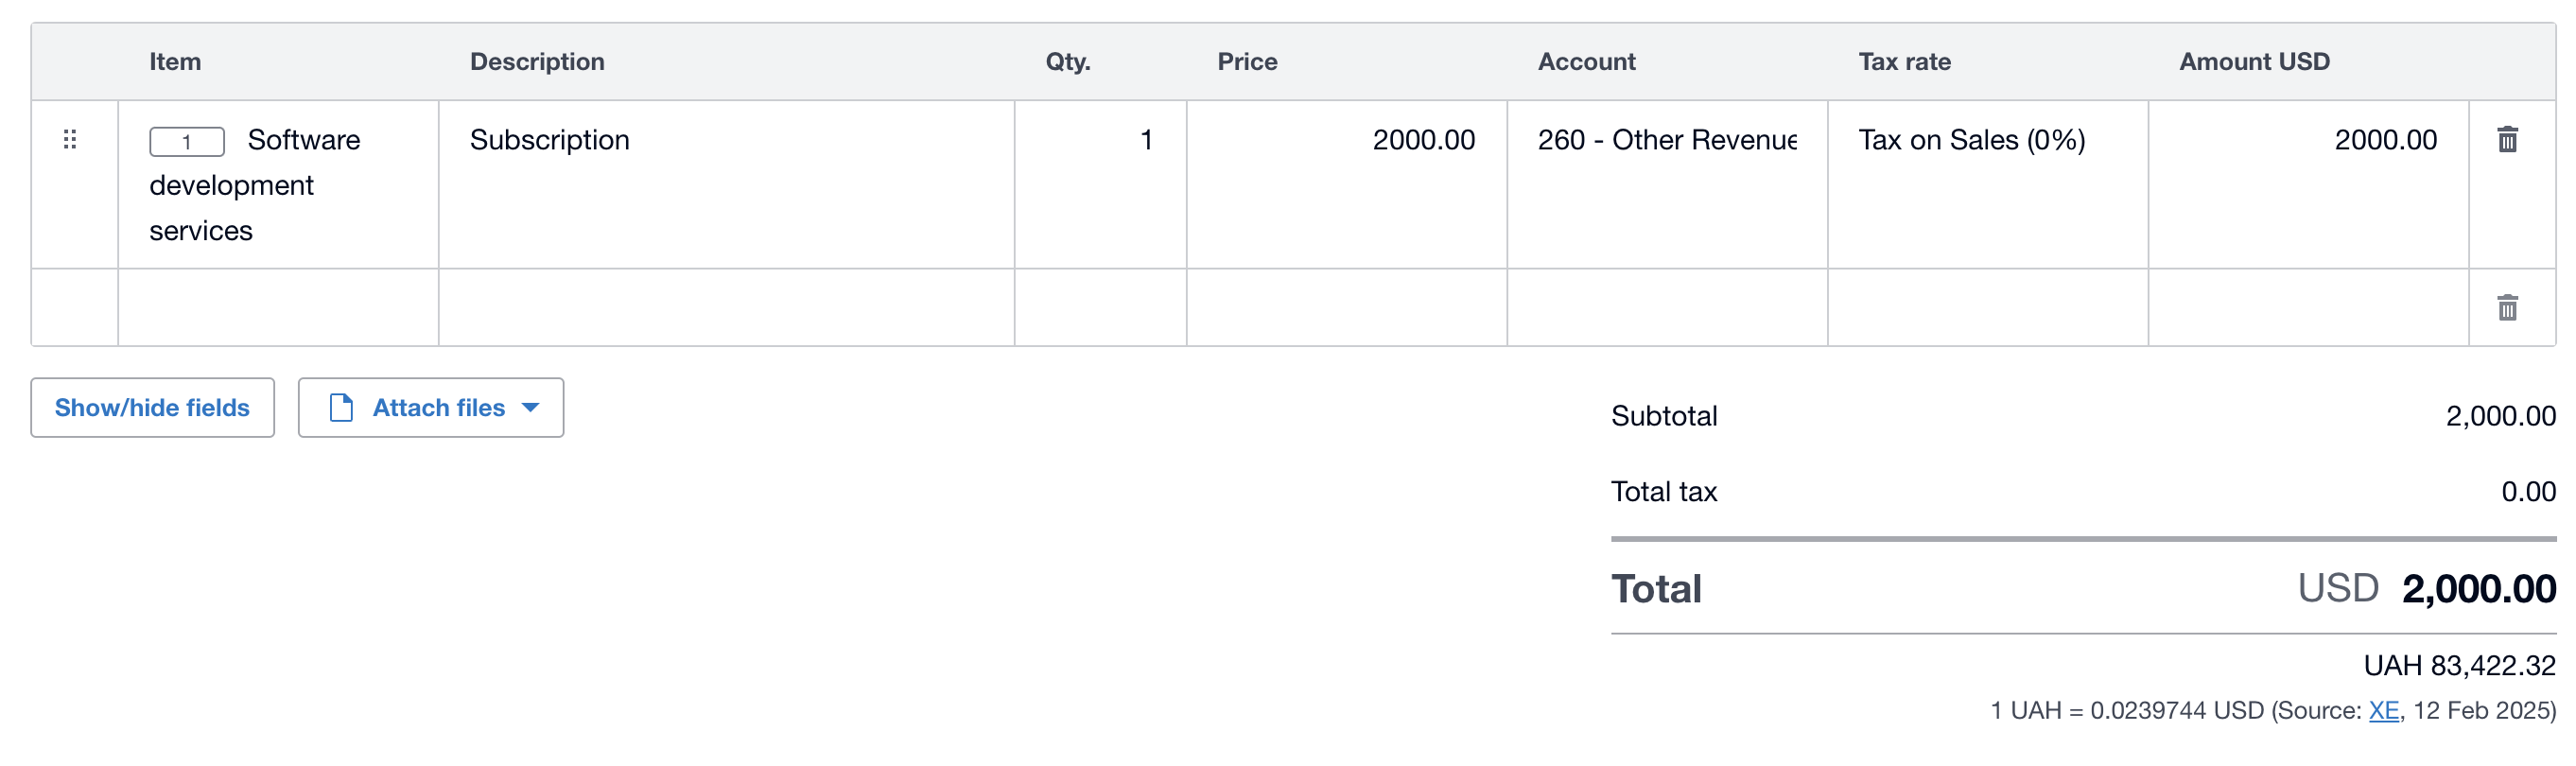
When you click Import from Xero, you will have the option to select the required invoice and add it to the system.

If the client for whom you are creating the invoice is not yet in the ITFin system, the system will notify you that this client has not been imported yet.
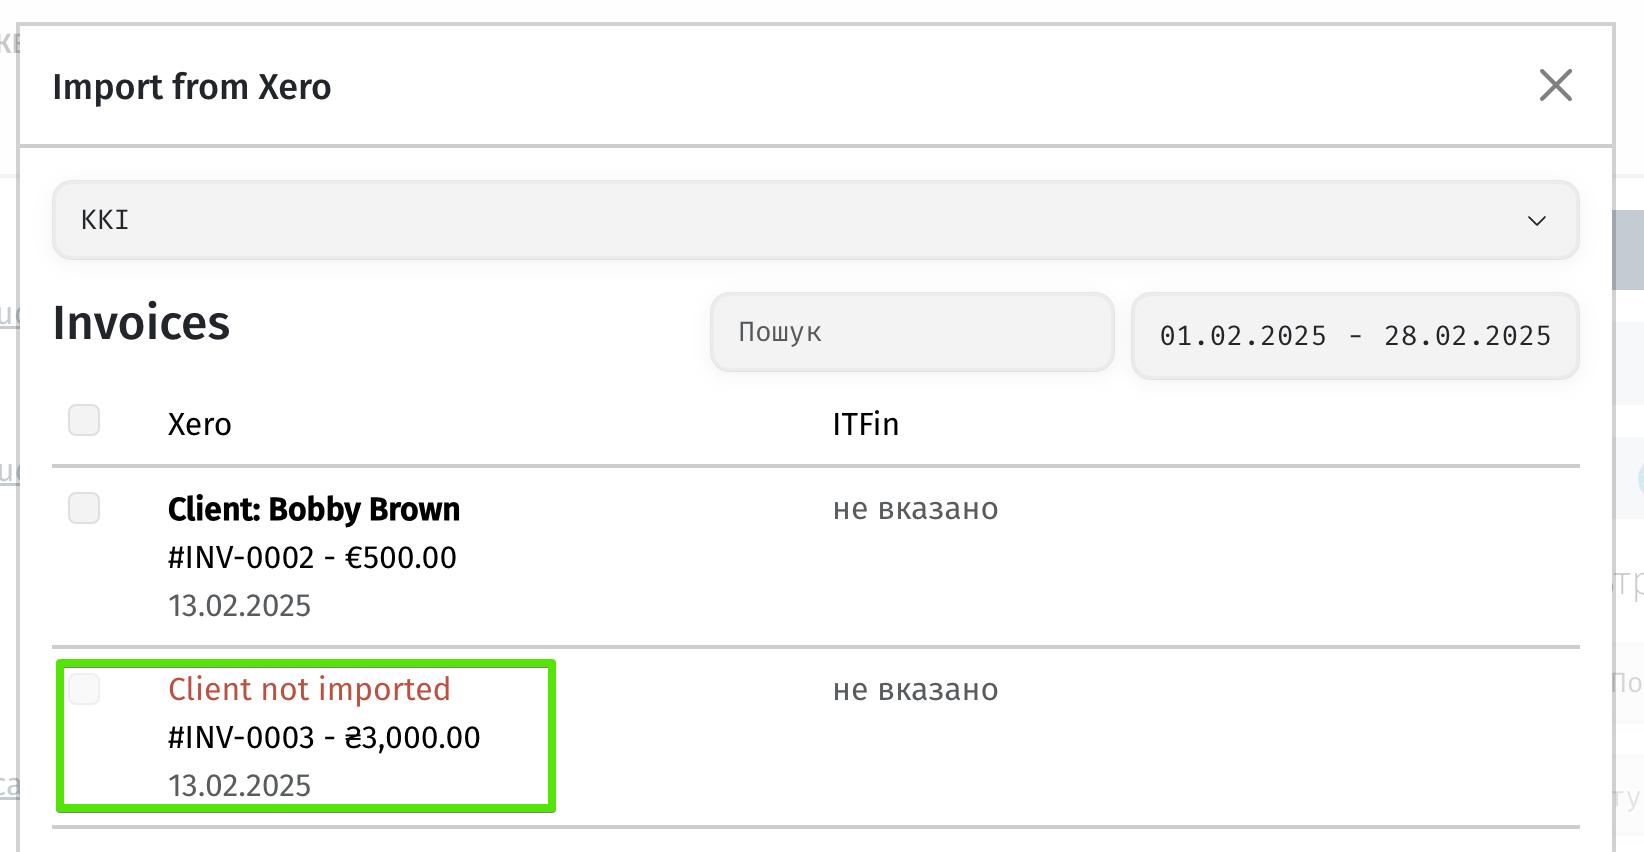
In this case, you need to go to the Clients menu and click the Import from Xero button.
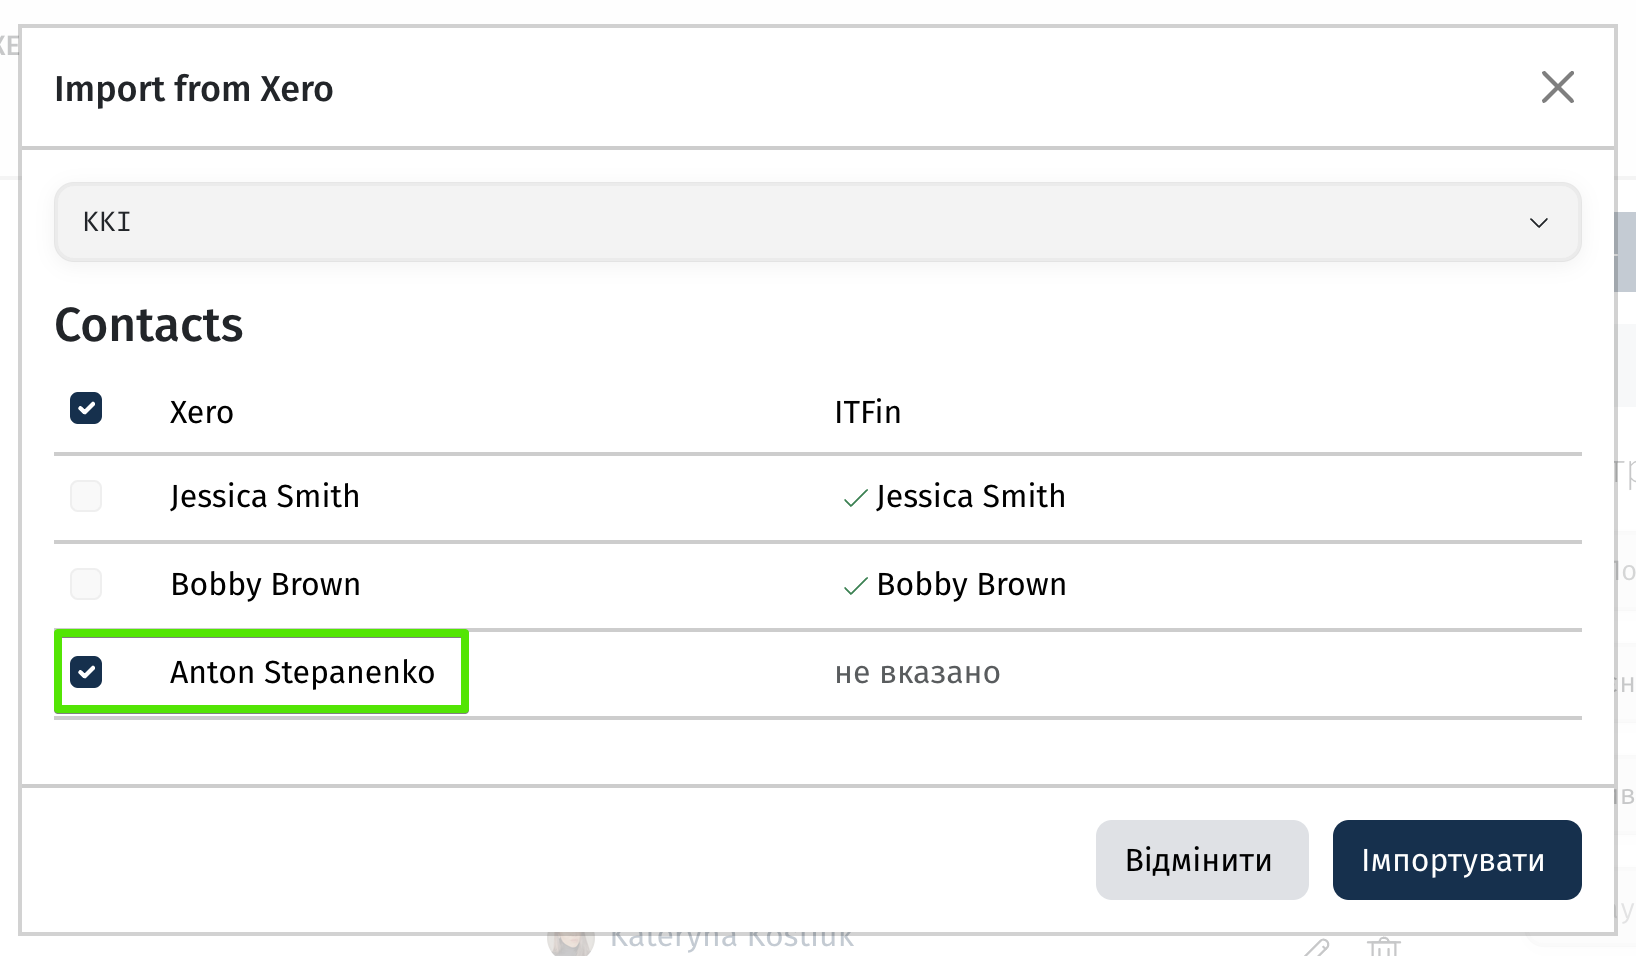
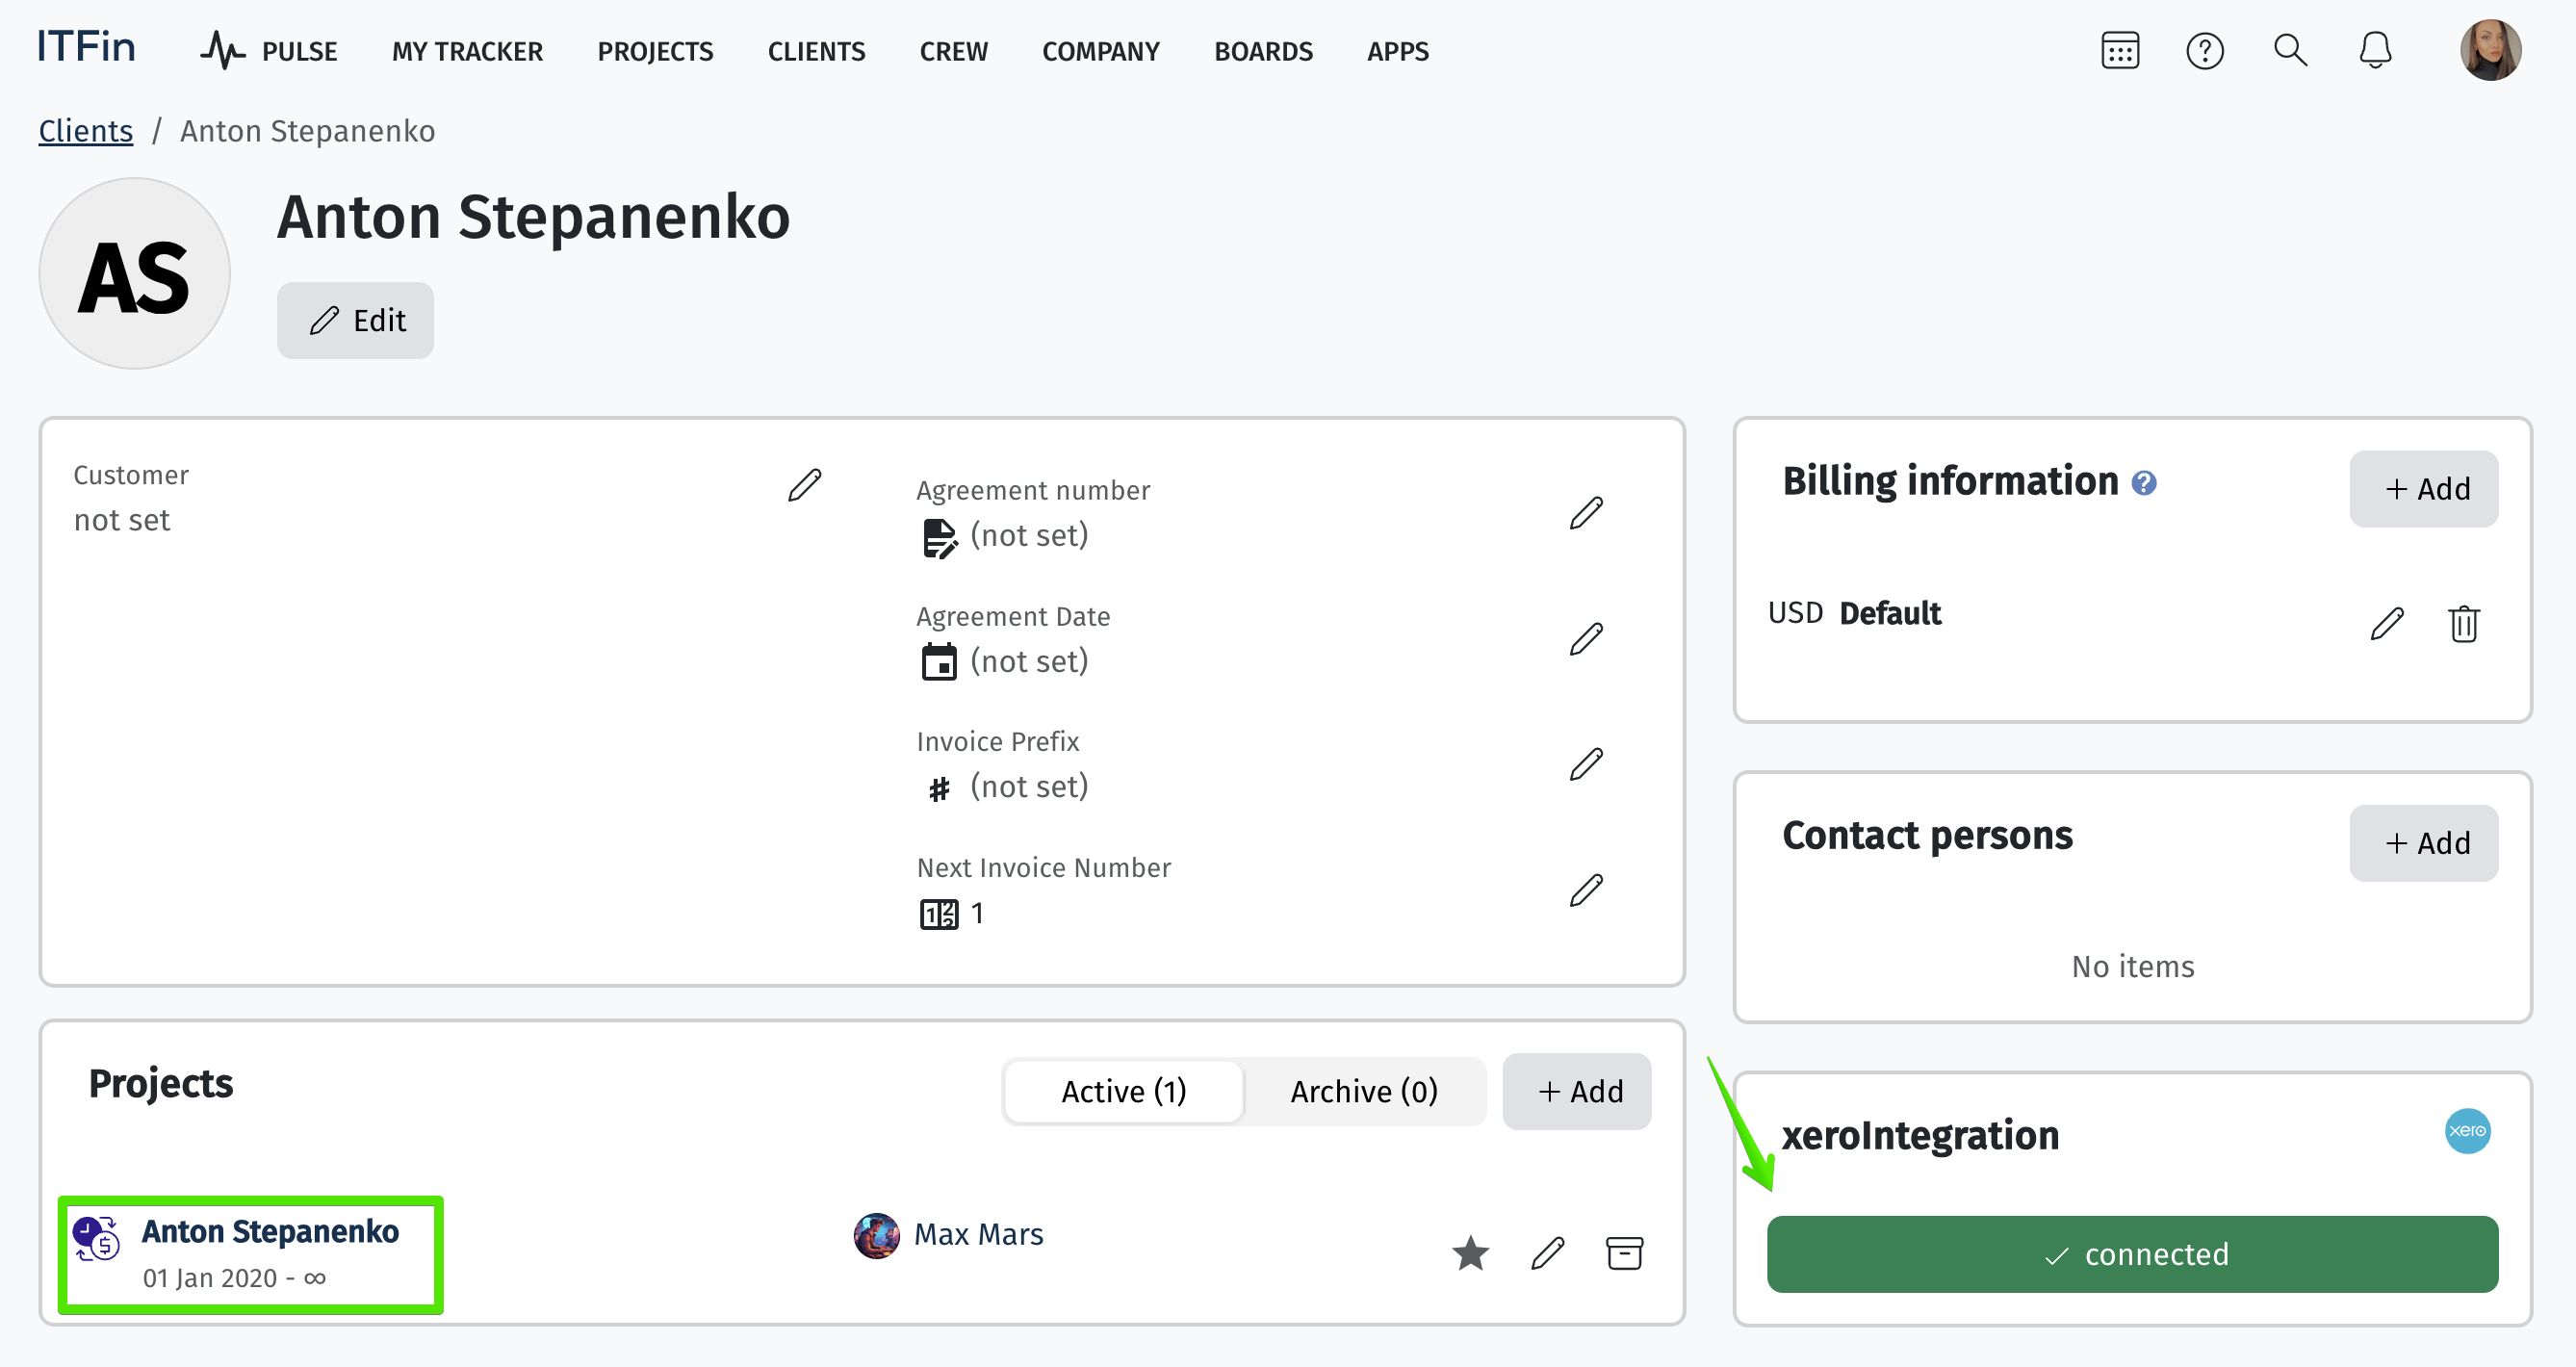
The system will import the new clients and automatically create a project for them. Additionally, their profile will be marked with Xero integration—connected.
After this, you will be able to successfully continue importing invoices from Xero into ITFin.
The Sync Xero invoices option updates the statuses of invoices in Xero if they have been changed in ITFin.


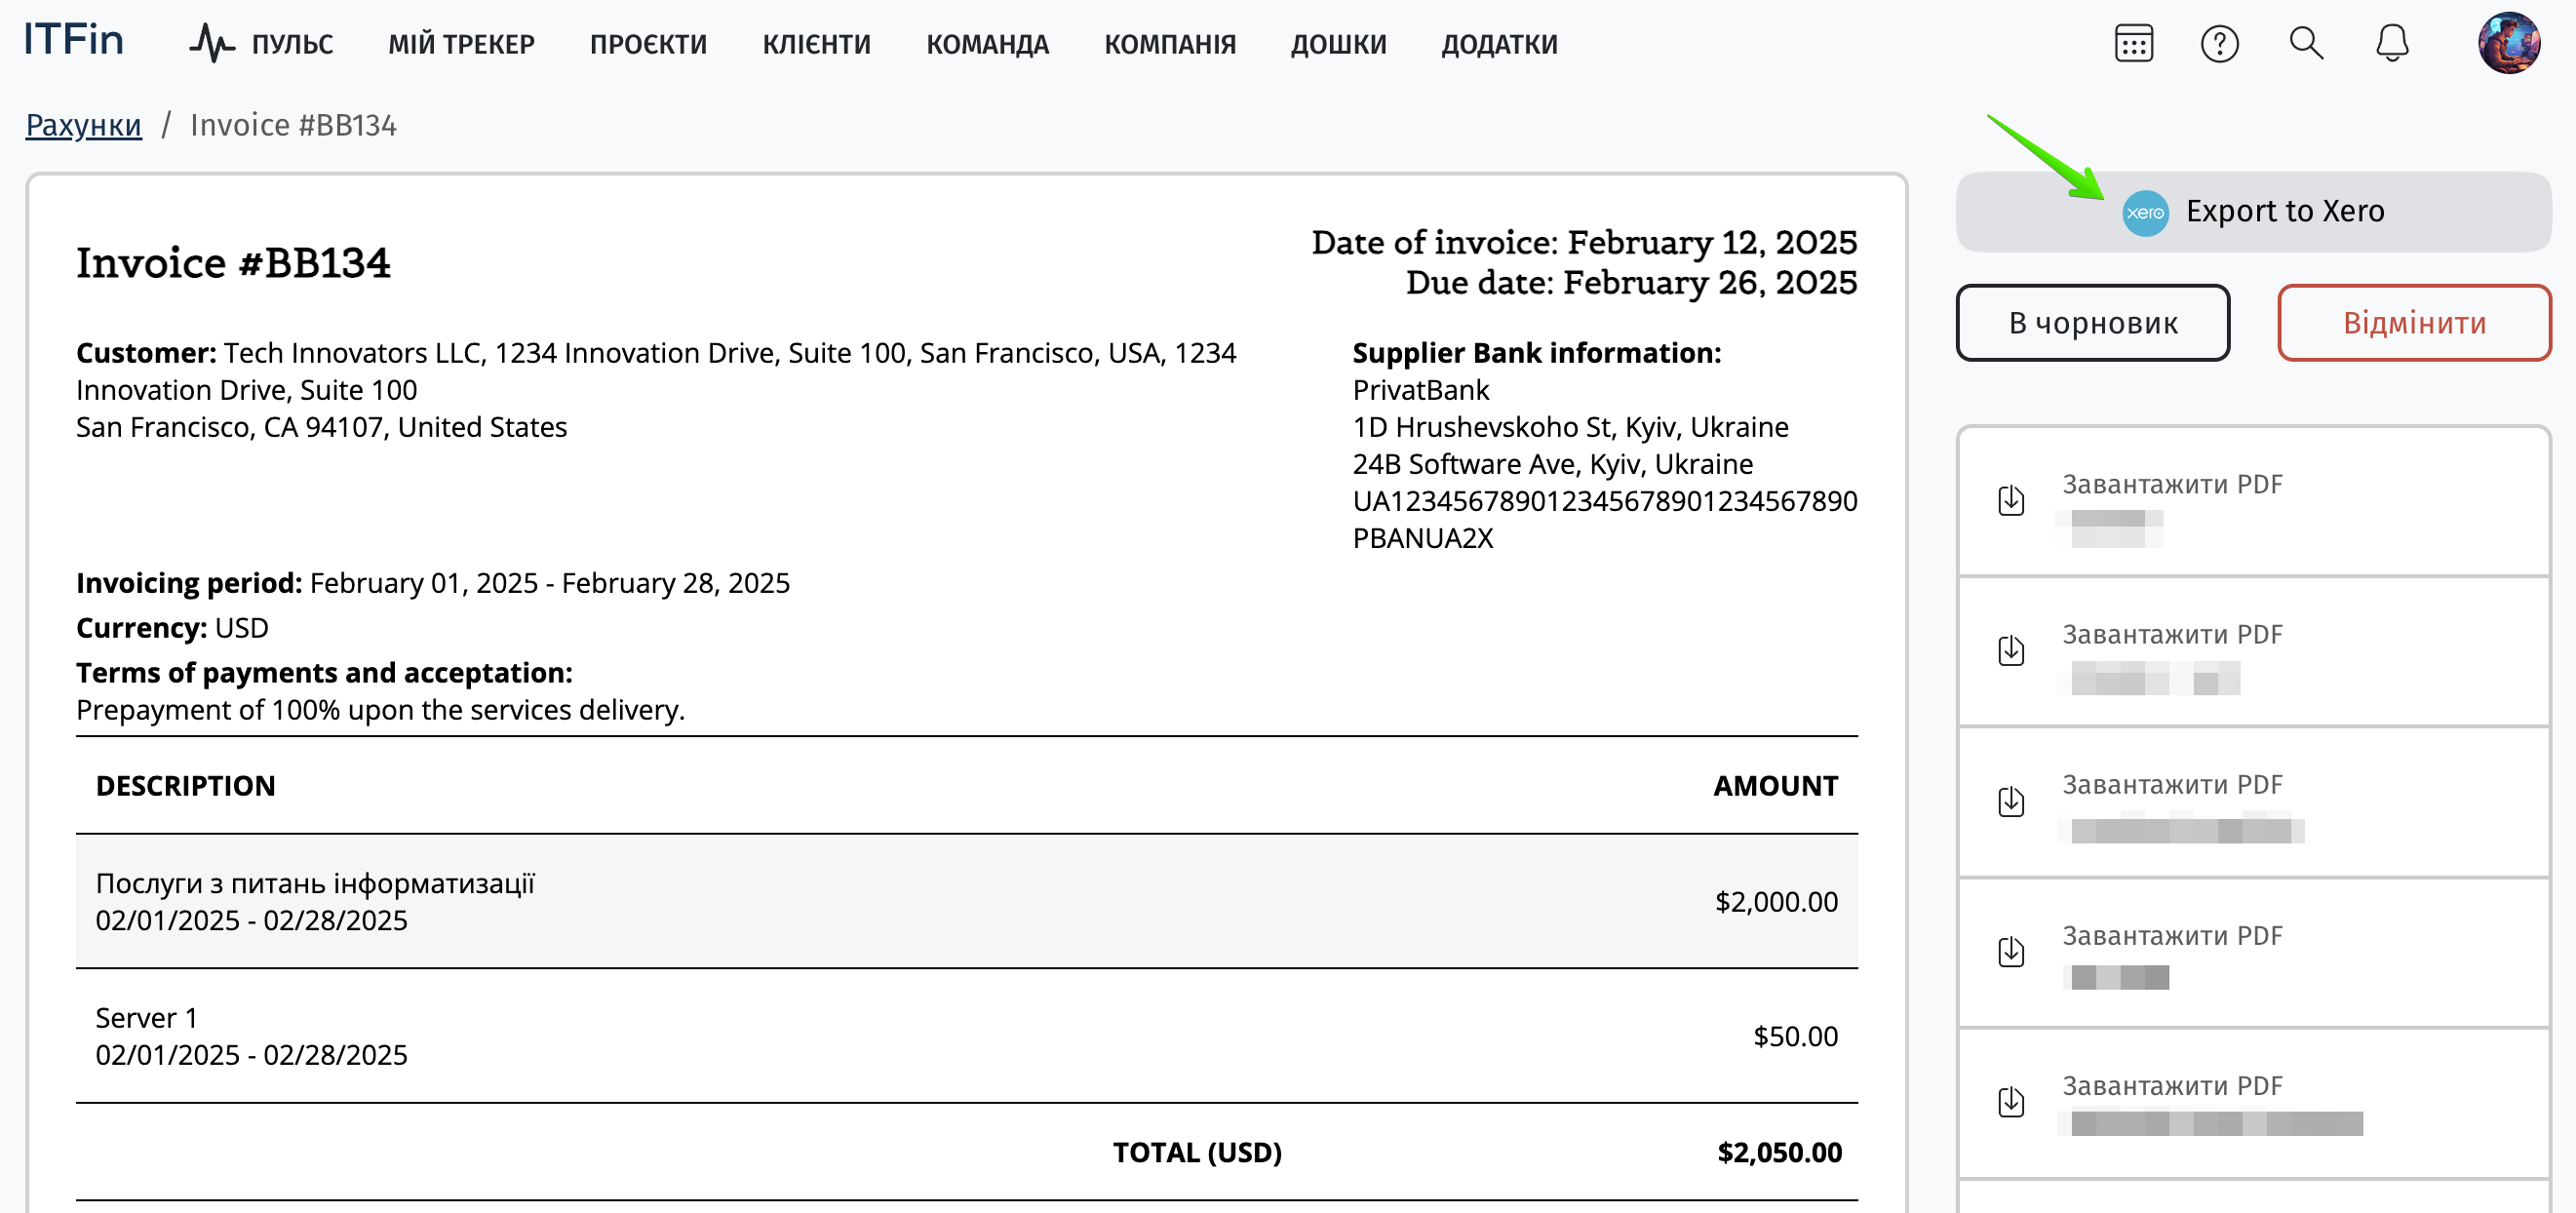
To export a new invoice to Xero, after changing its status to Ready to send in the ITFin system, the Export to Xero button will appear in the invoice.
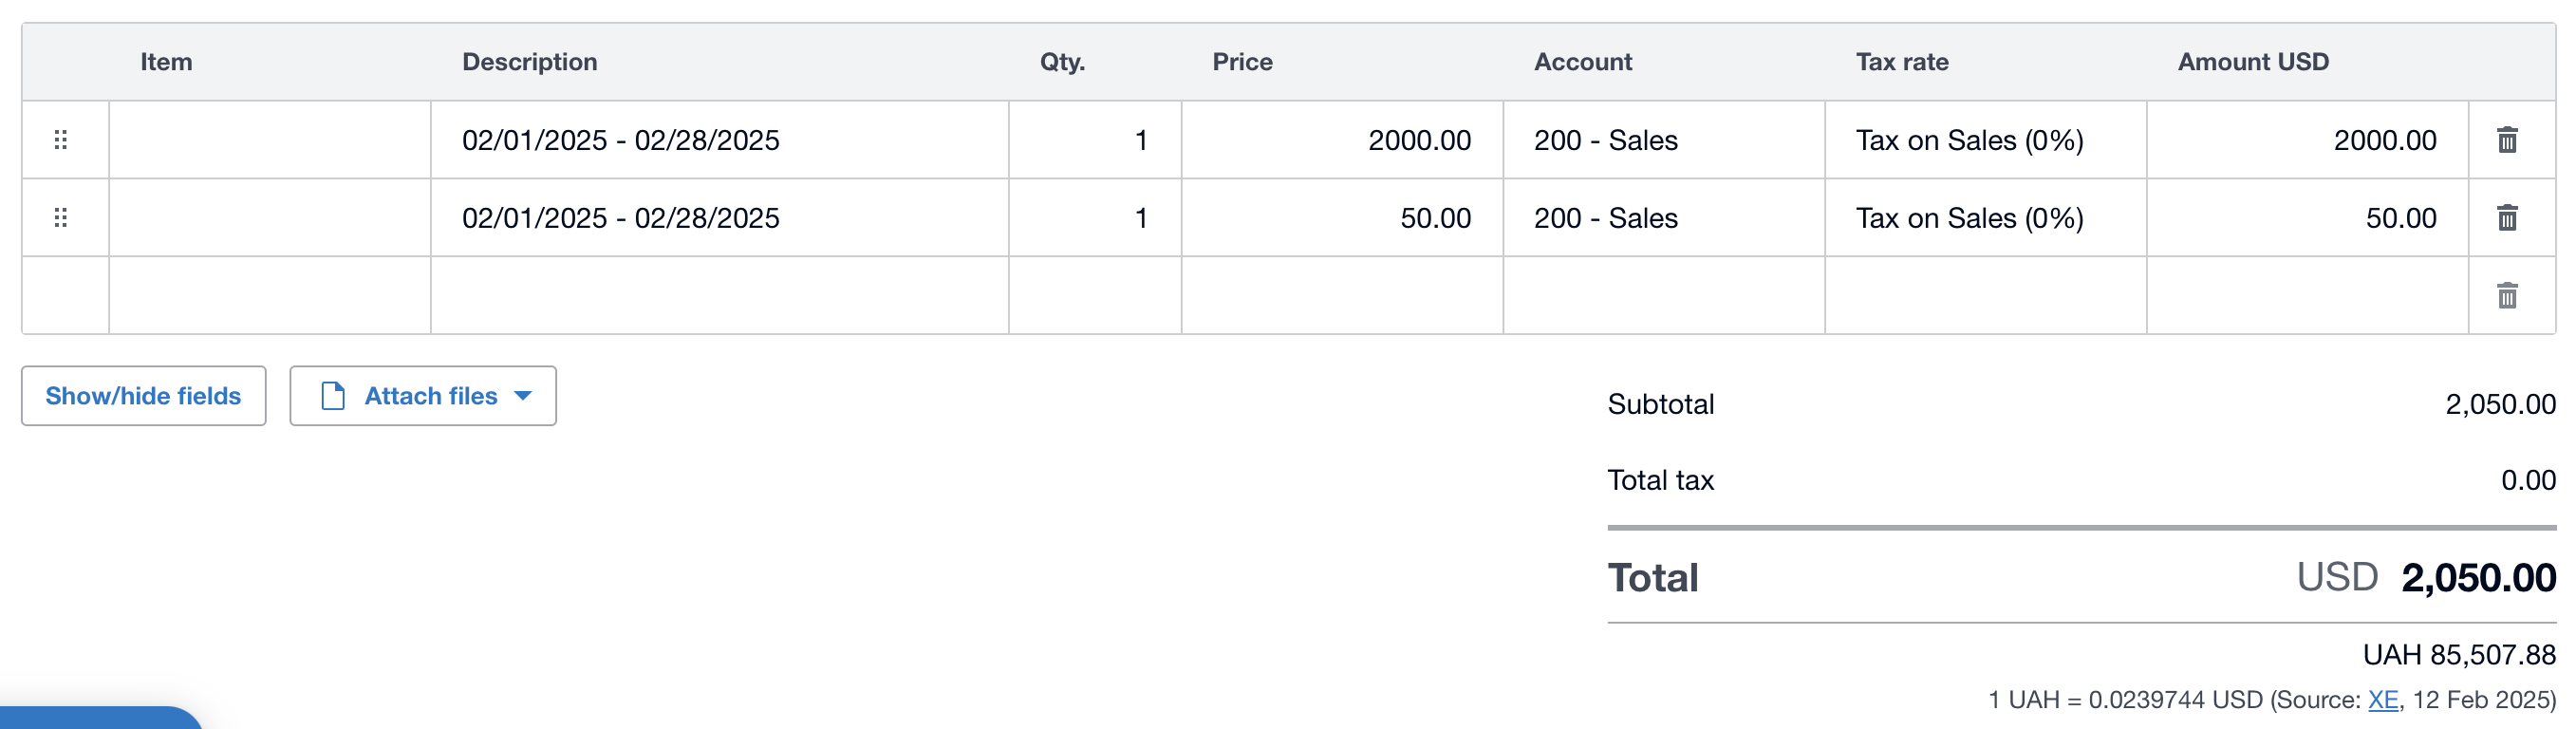
In the next step, select the Business Unit (BU) from Xero, review the invoice number, amount, and client, then click Export.
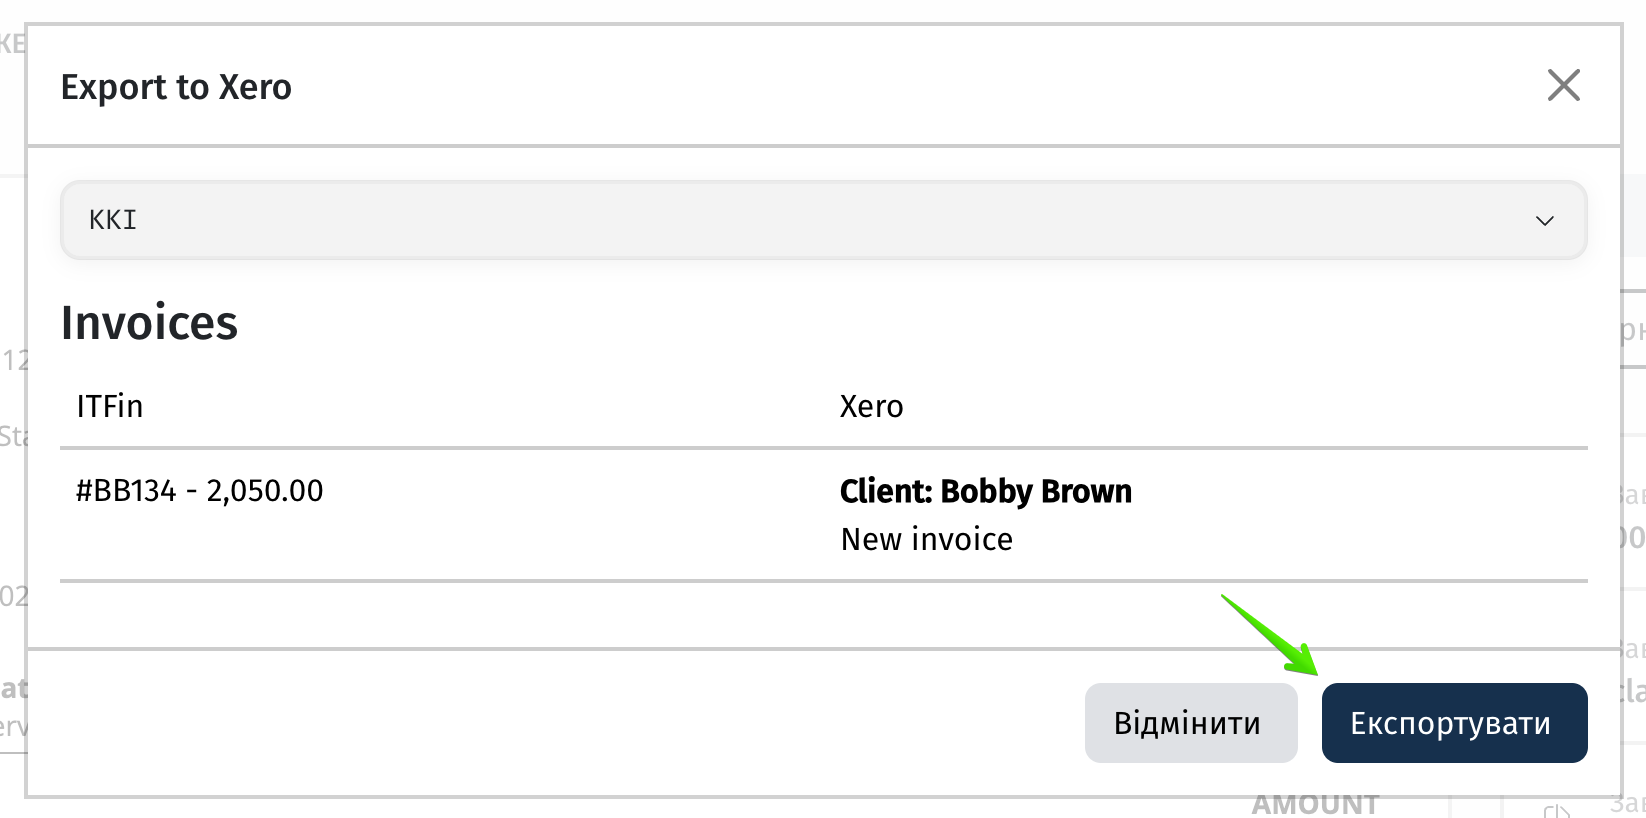
After that, check the invoice in Xero.

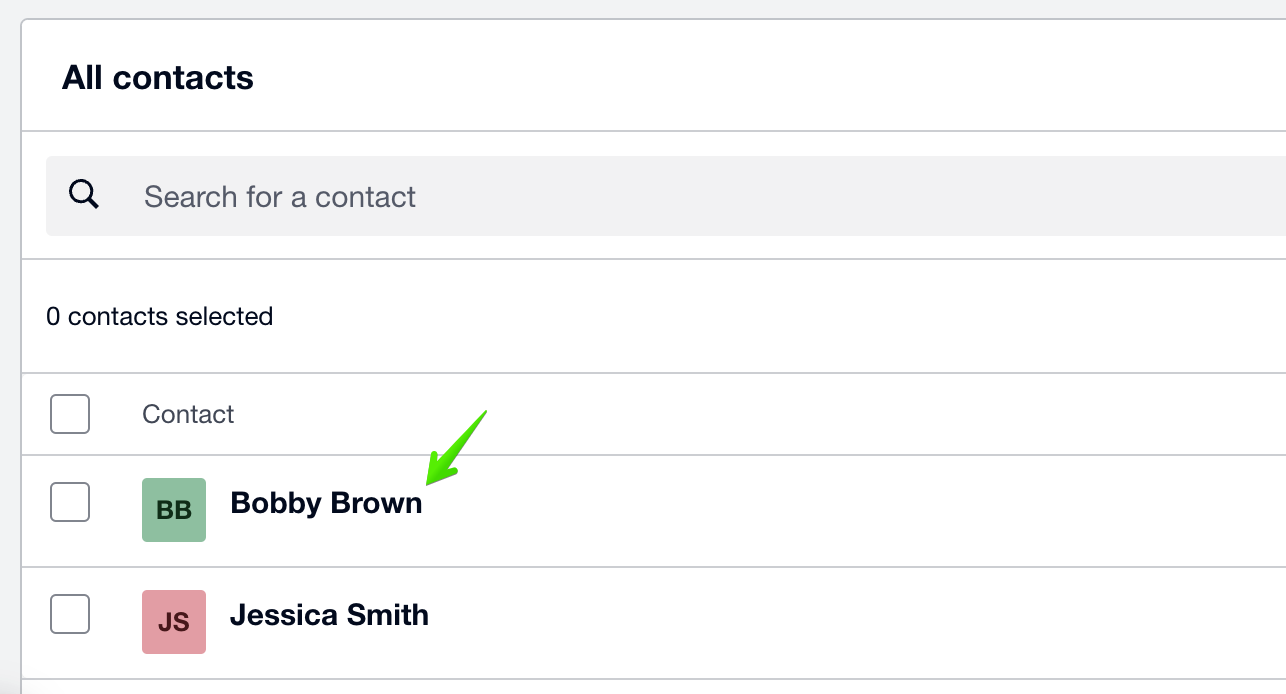
Additionally, if this is a new client for Xero, they will also be automatically added to the Xero contacts list.