The system includes a dedicated Inventory section for managing company assets. In this section, you can create new entries, keep track of assets (such as equipment, furniture, and machinery), assign items to employees for use, and record the value of the items at the time of their acquisition.
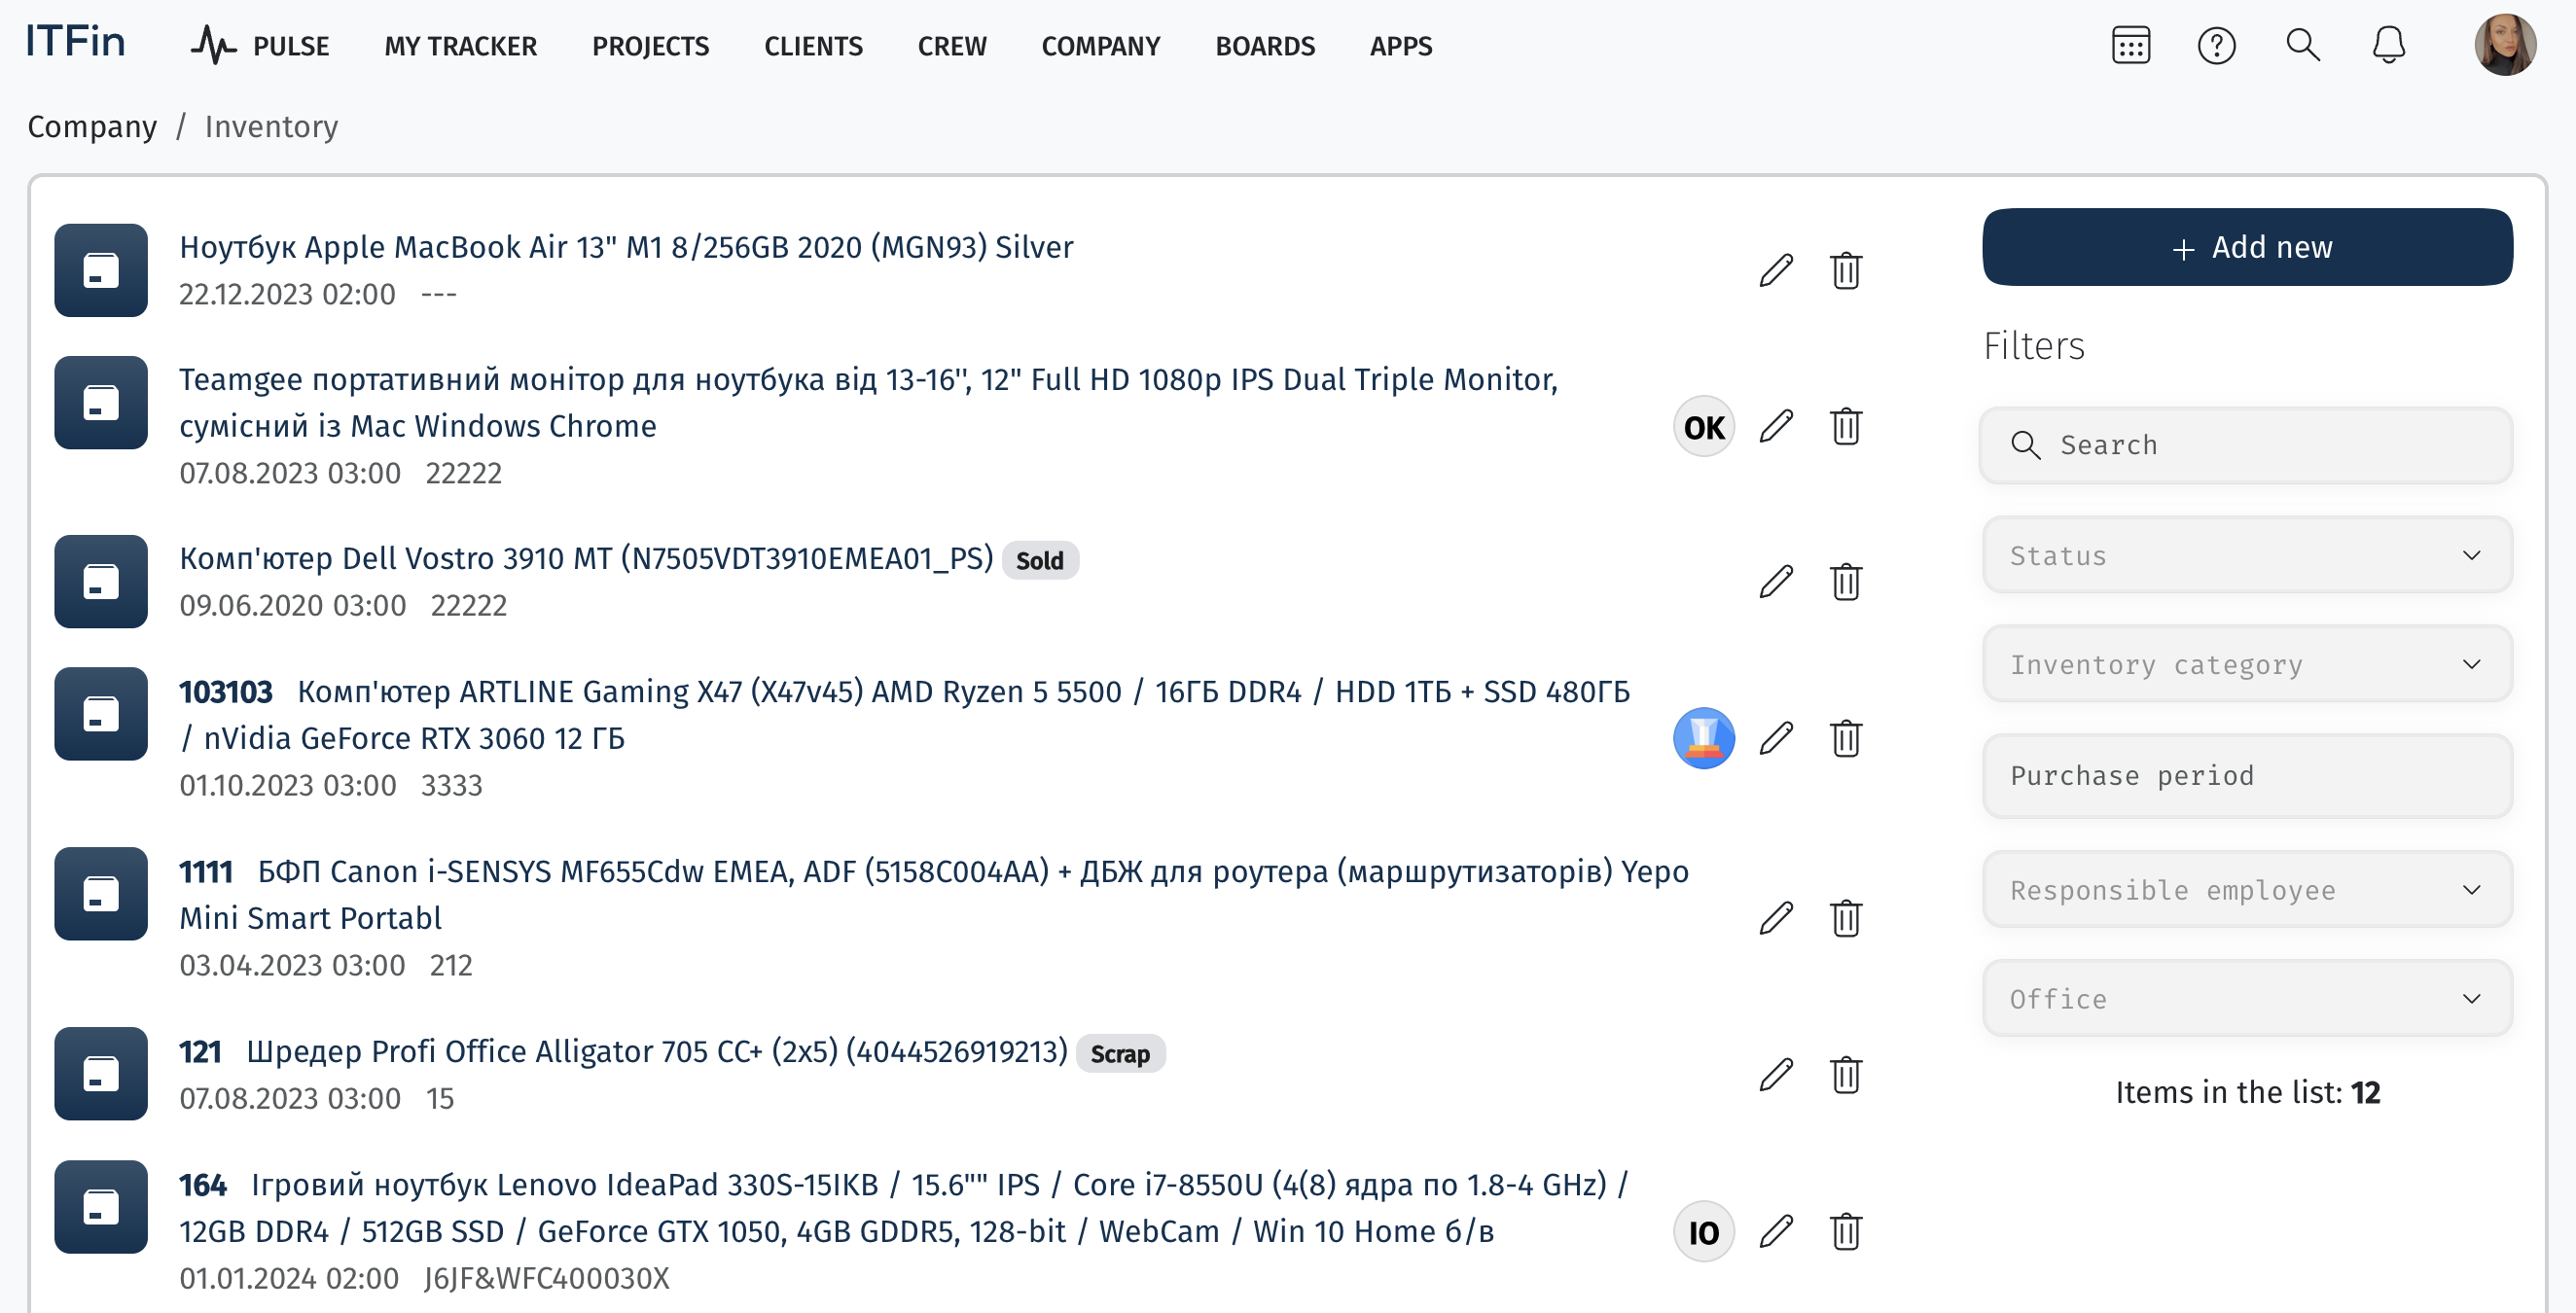
All items are divided into categories. Depreciation can be configured for different categories. You can then specify the list of items, select a category, assign them to an employee, and link them to their office. These categories can be added through Settings > Inventory Categories.
Interface overview
The page displays the complete list of company assets entered into the system.
To create a new item, click the +Add new button.
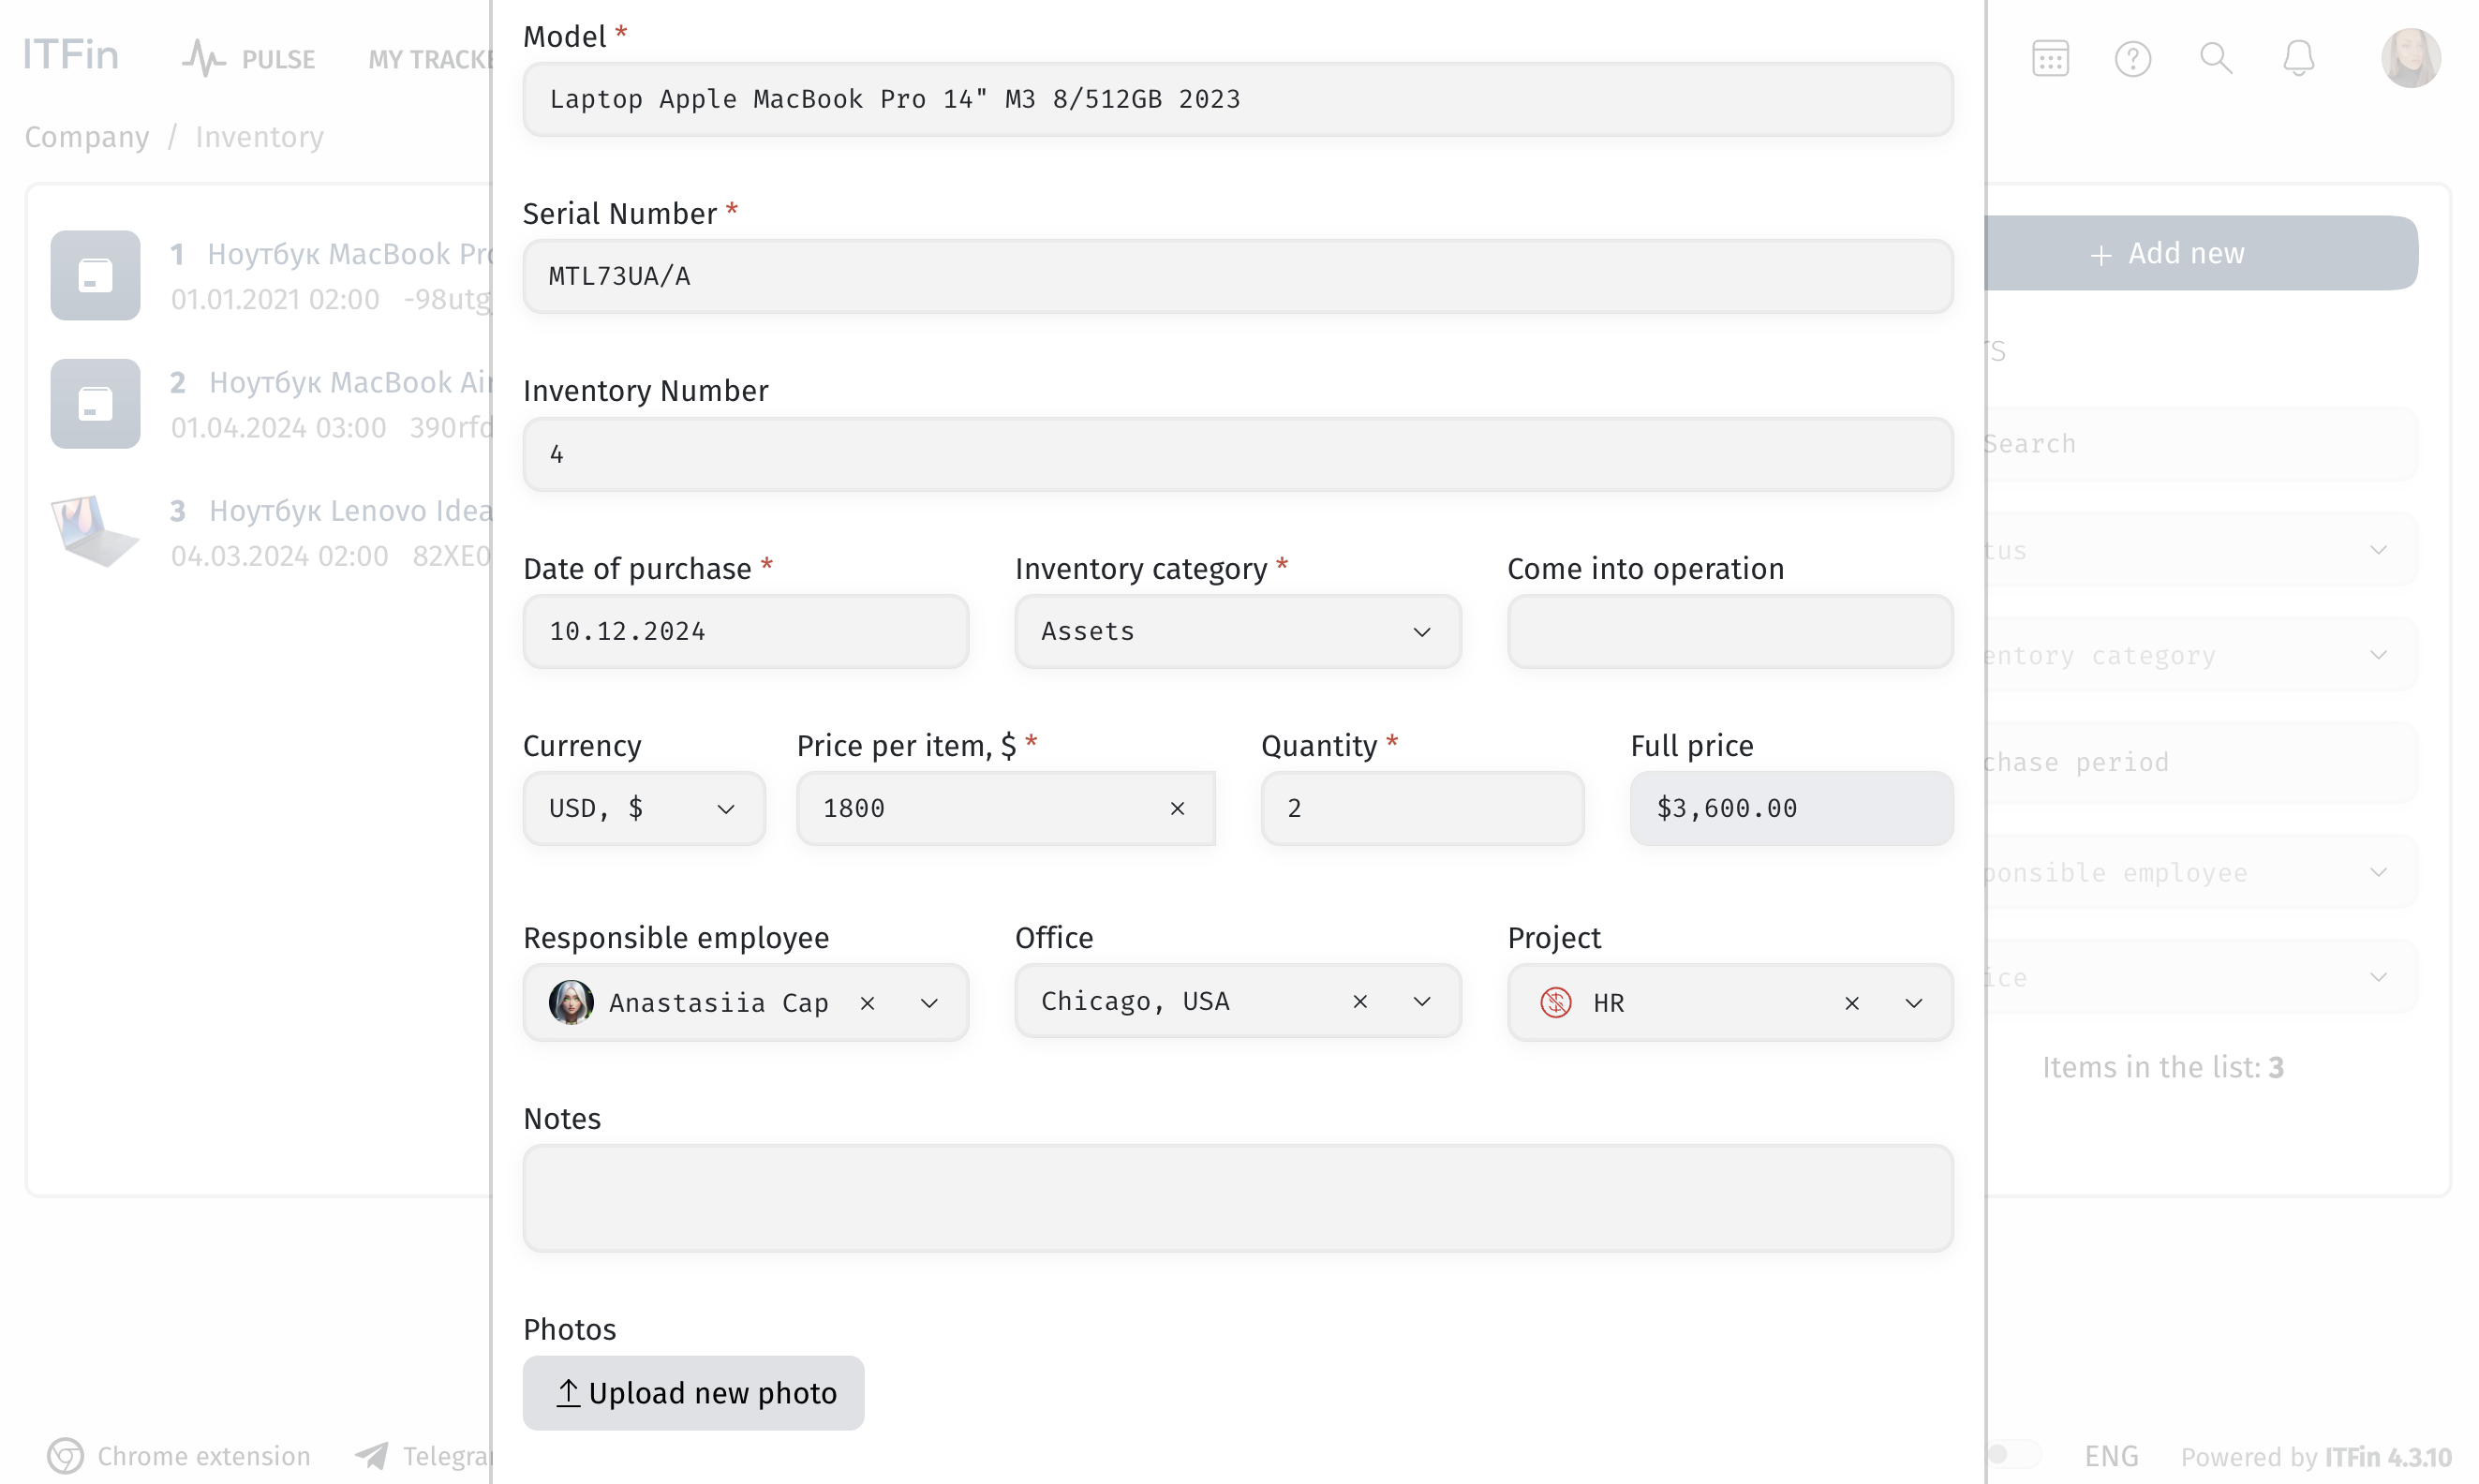
Fill in the following fields when creating a new item:
After assigning an item to a specific employee, the information will be displayed in the employee’s details.
In the inventory list, by clicking on a specific item, you can view its details and perform several operations with the asset. To do this, click the Sell/Scrap button.
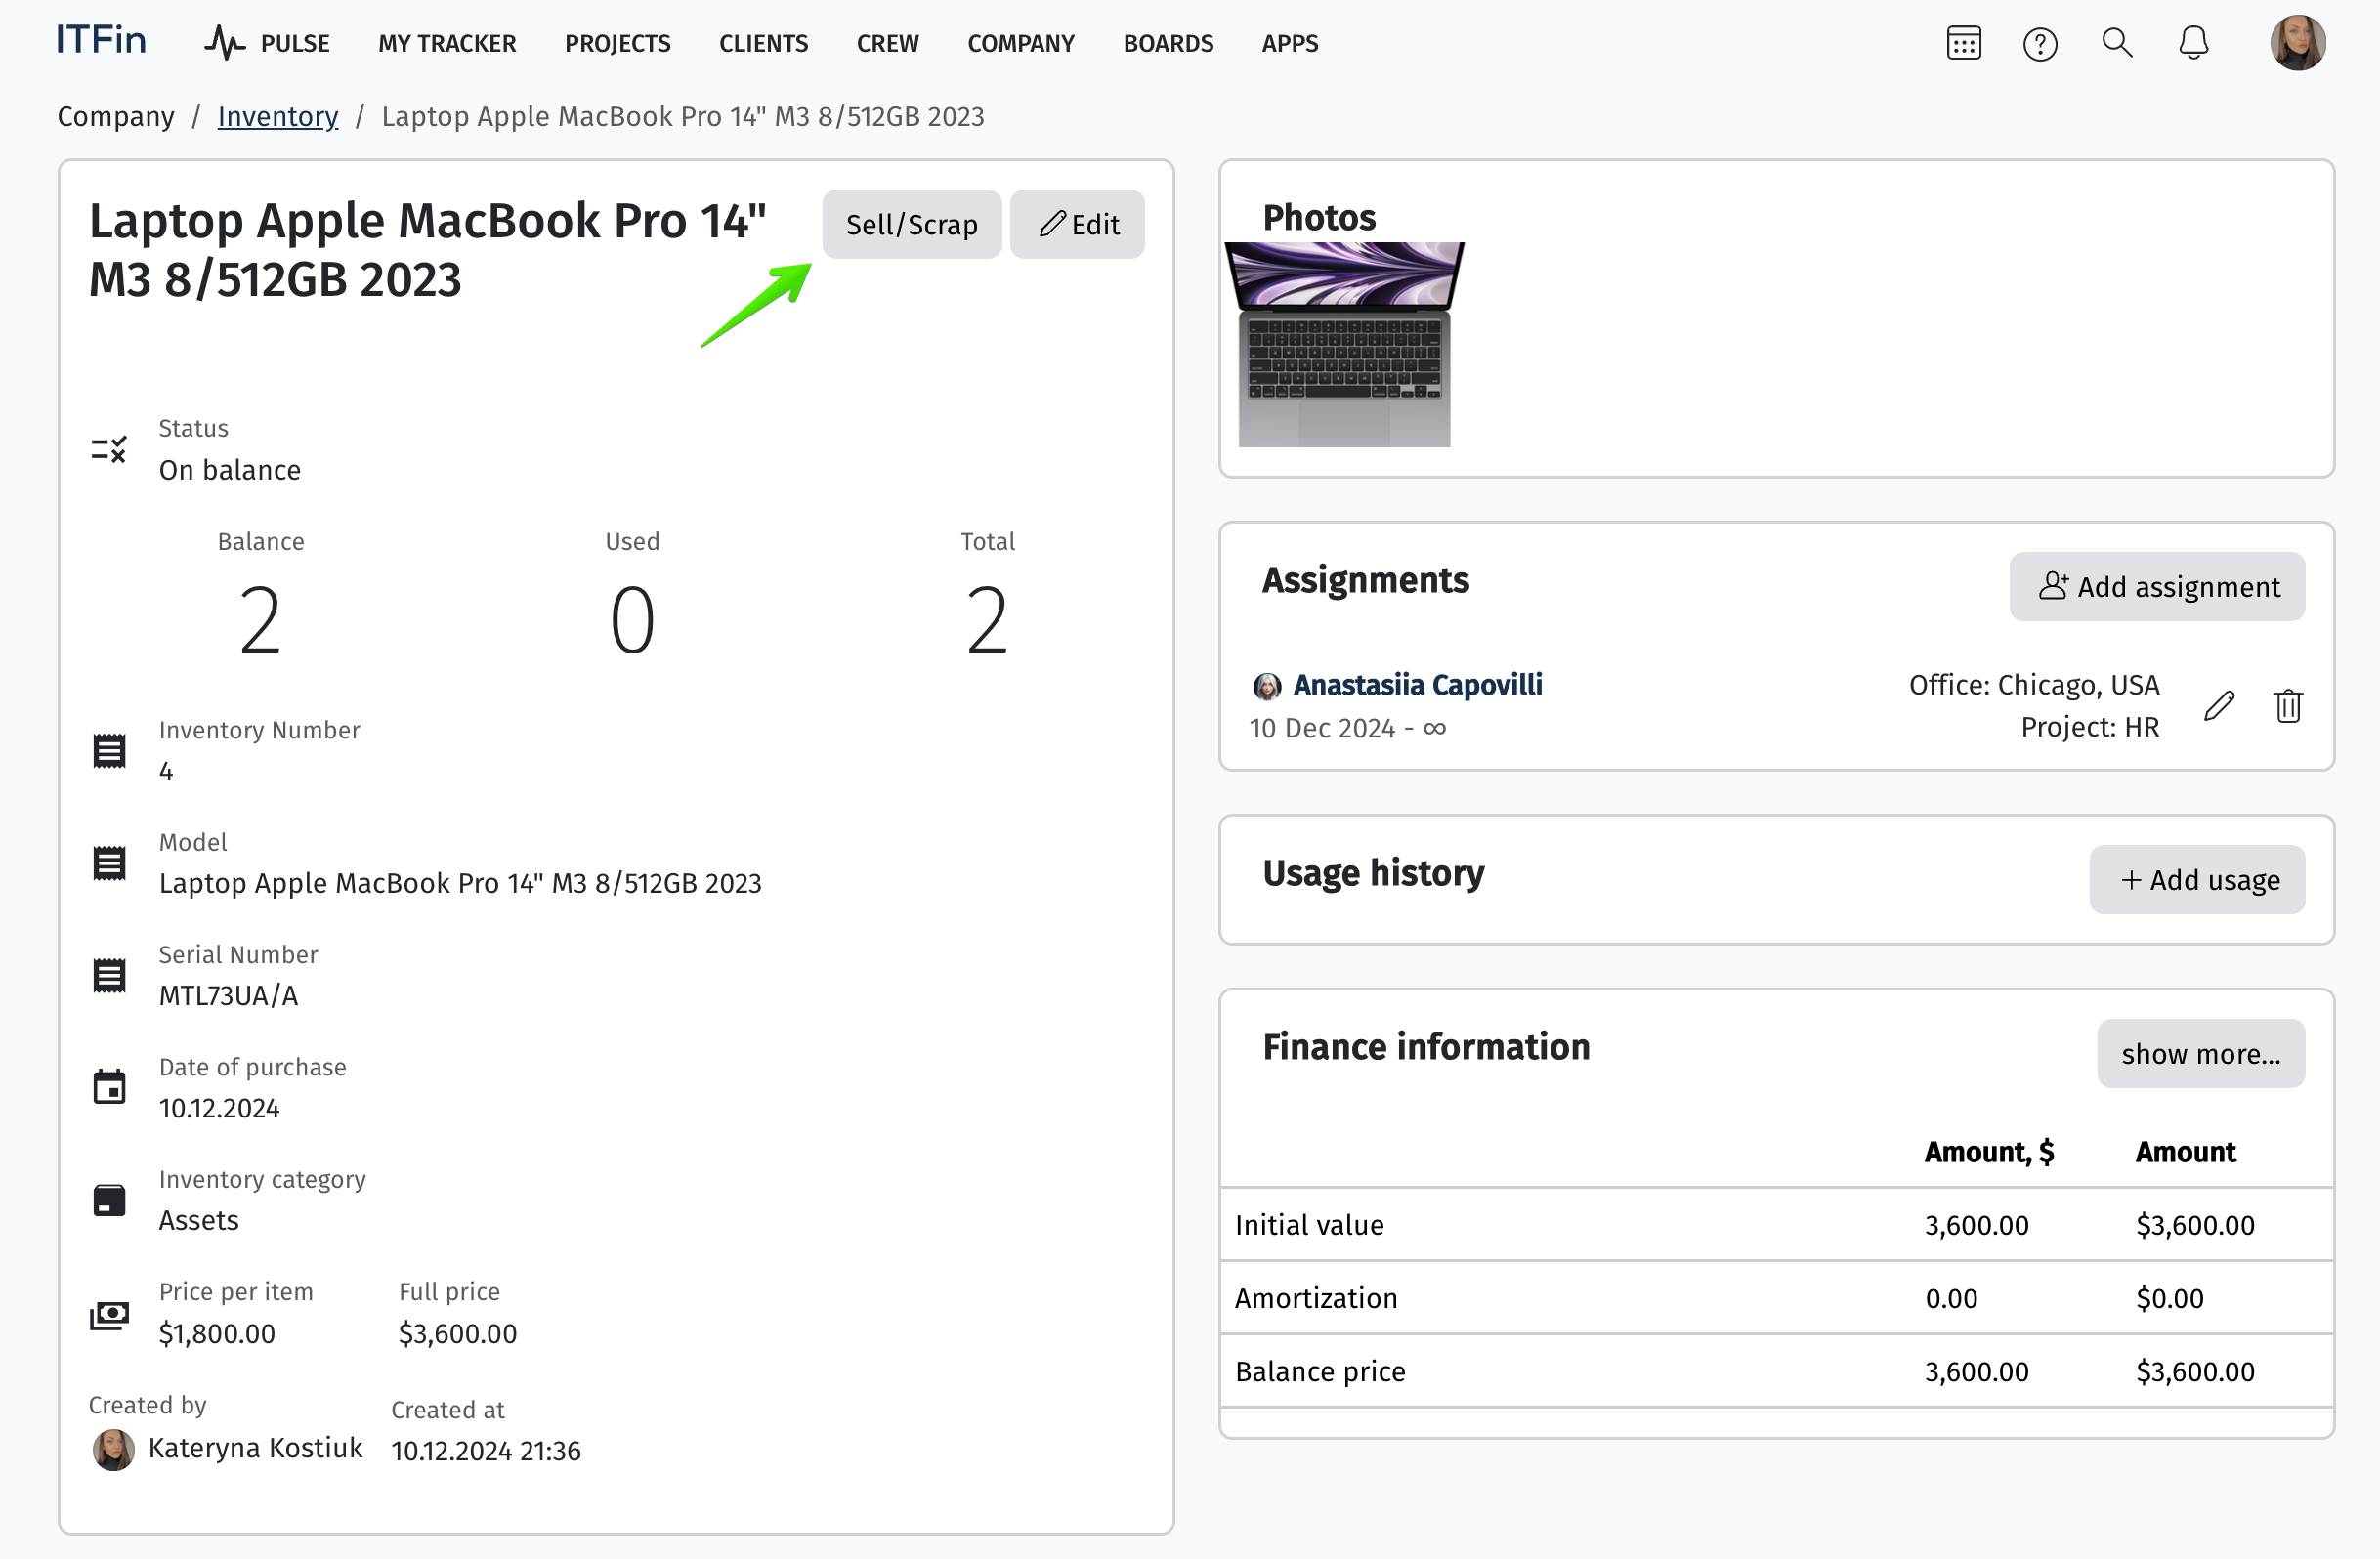
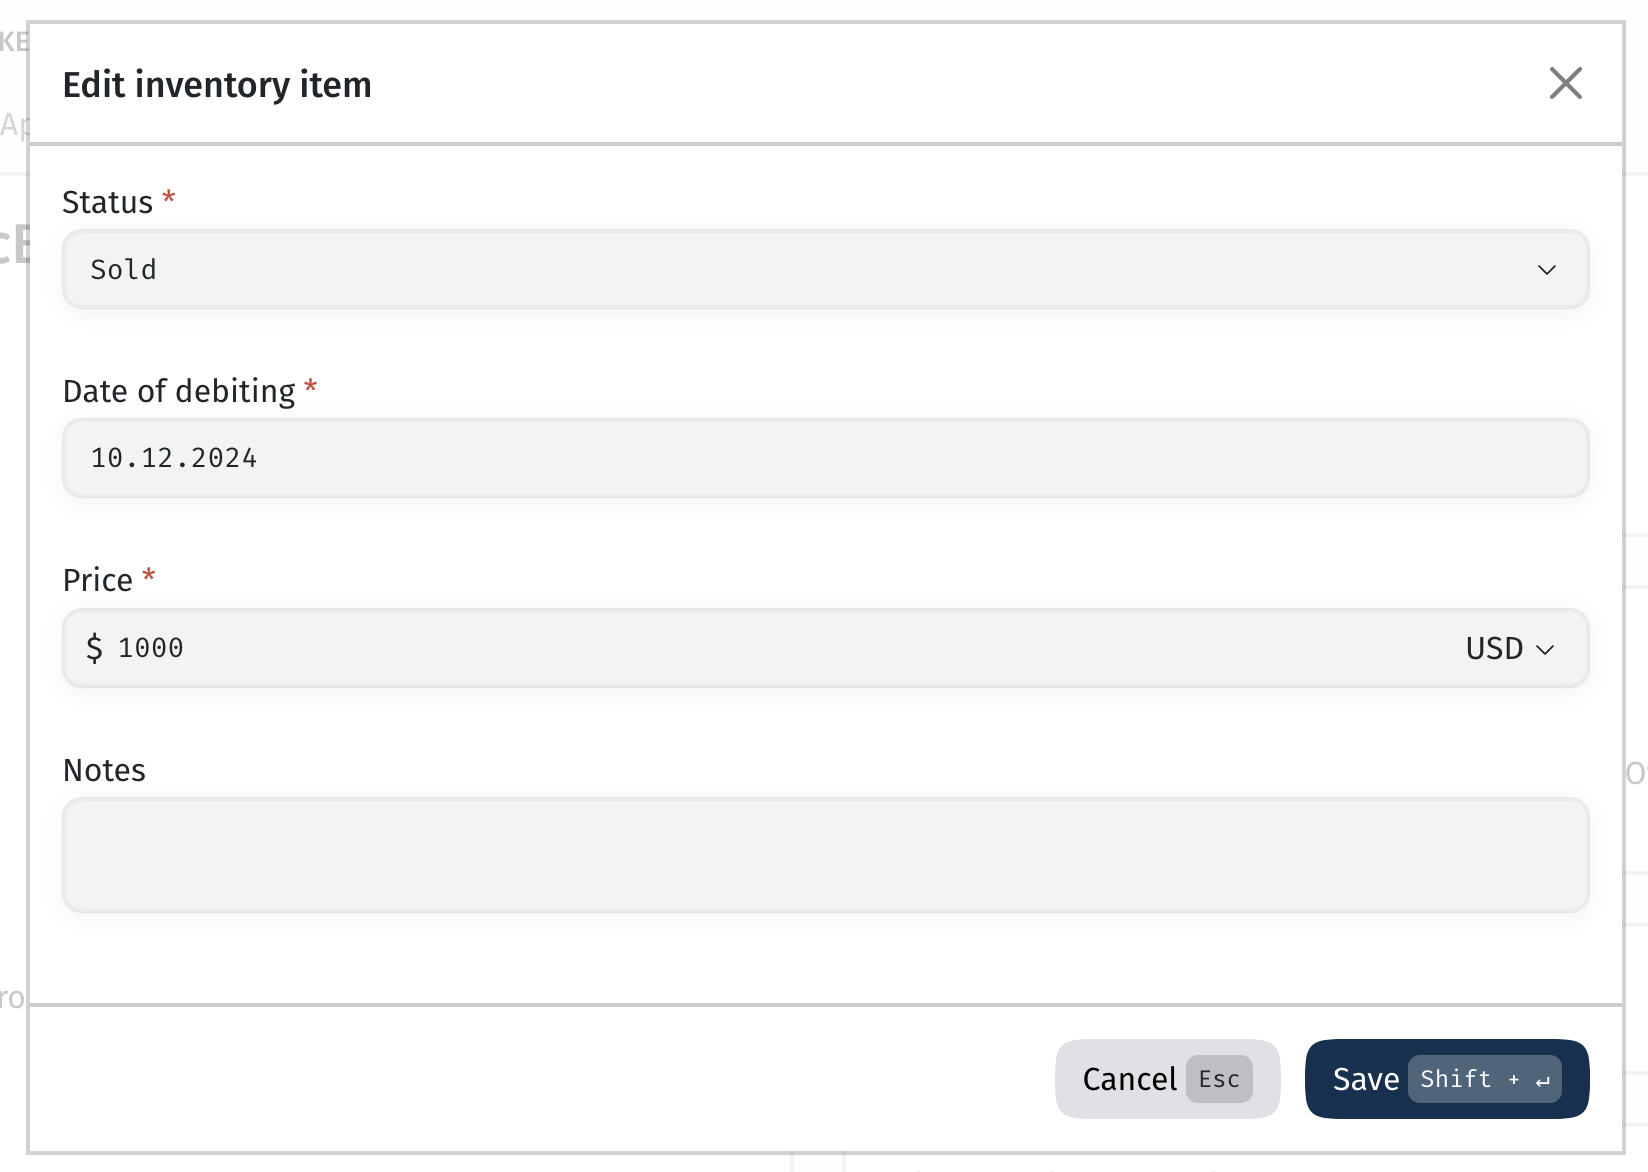
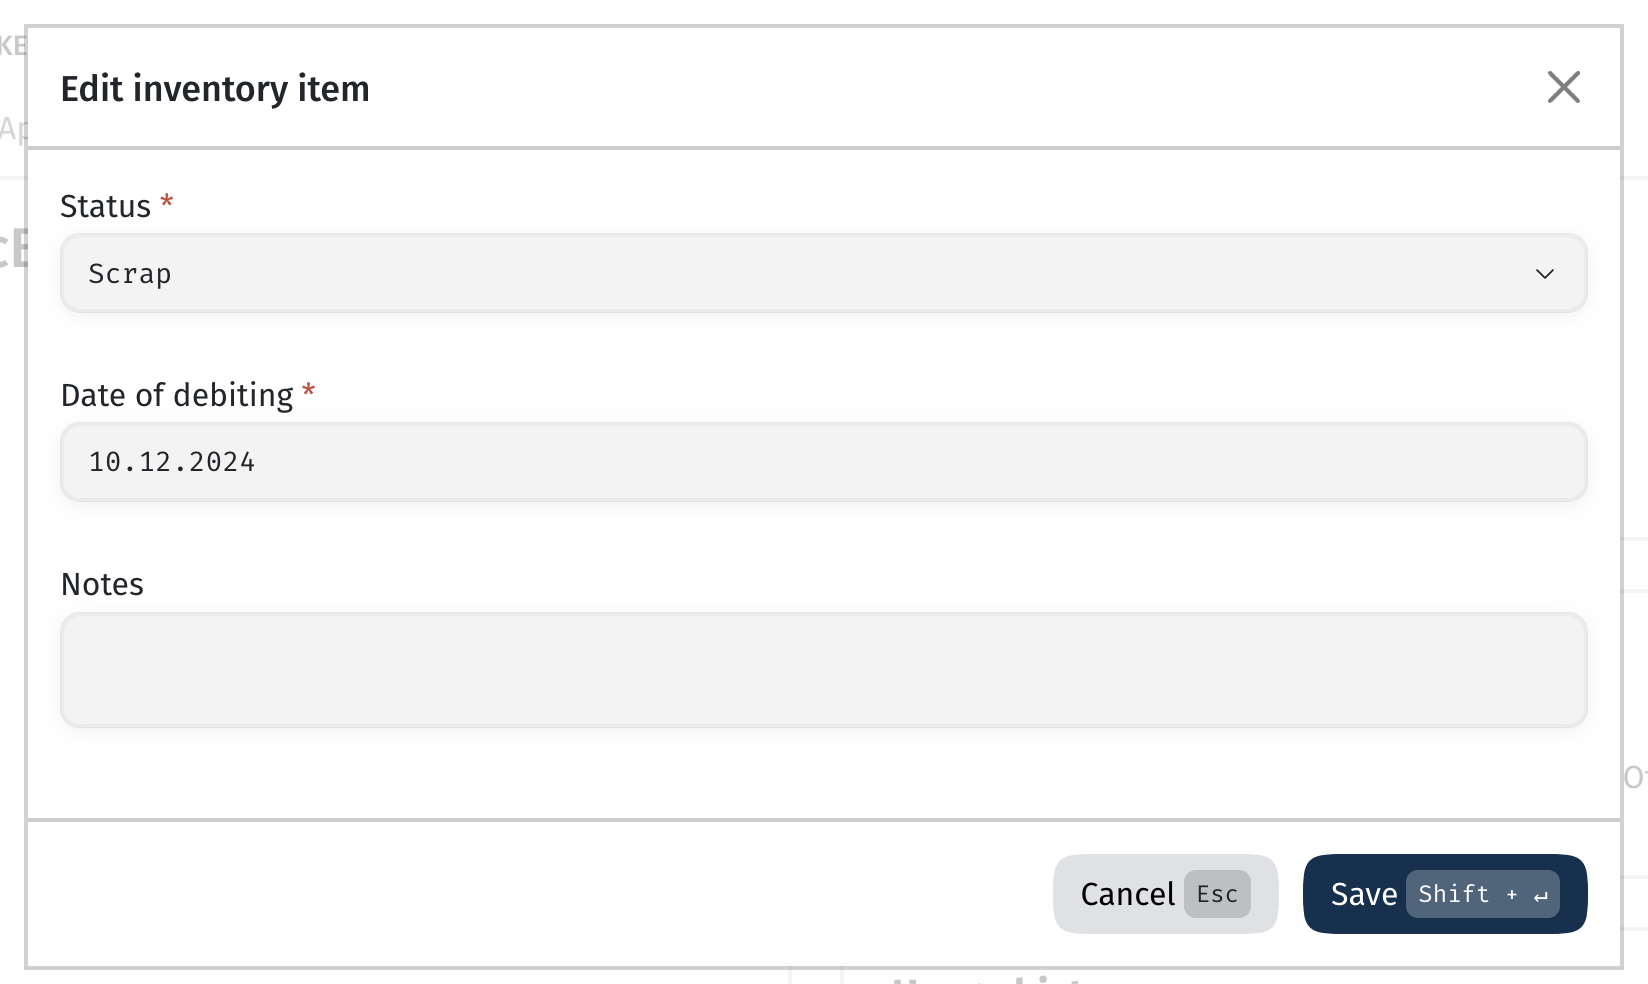
One of three statuses can be set for an asset: On Balance, Sold, or Scrap.
When inventory is in use, it should have the status On Balance. Upon selling the inventory, you need to set the status to Sold, specify the write-off date, amount, and, if necessary, add notes.
When inventory is taken out of service, the status should be set to Scrap, the write-off date specified, and notes can be added optionally.
In the inventory profile, you can view the responsible persons, edit existing assignments, and add new ones.

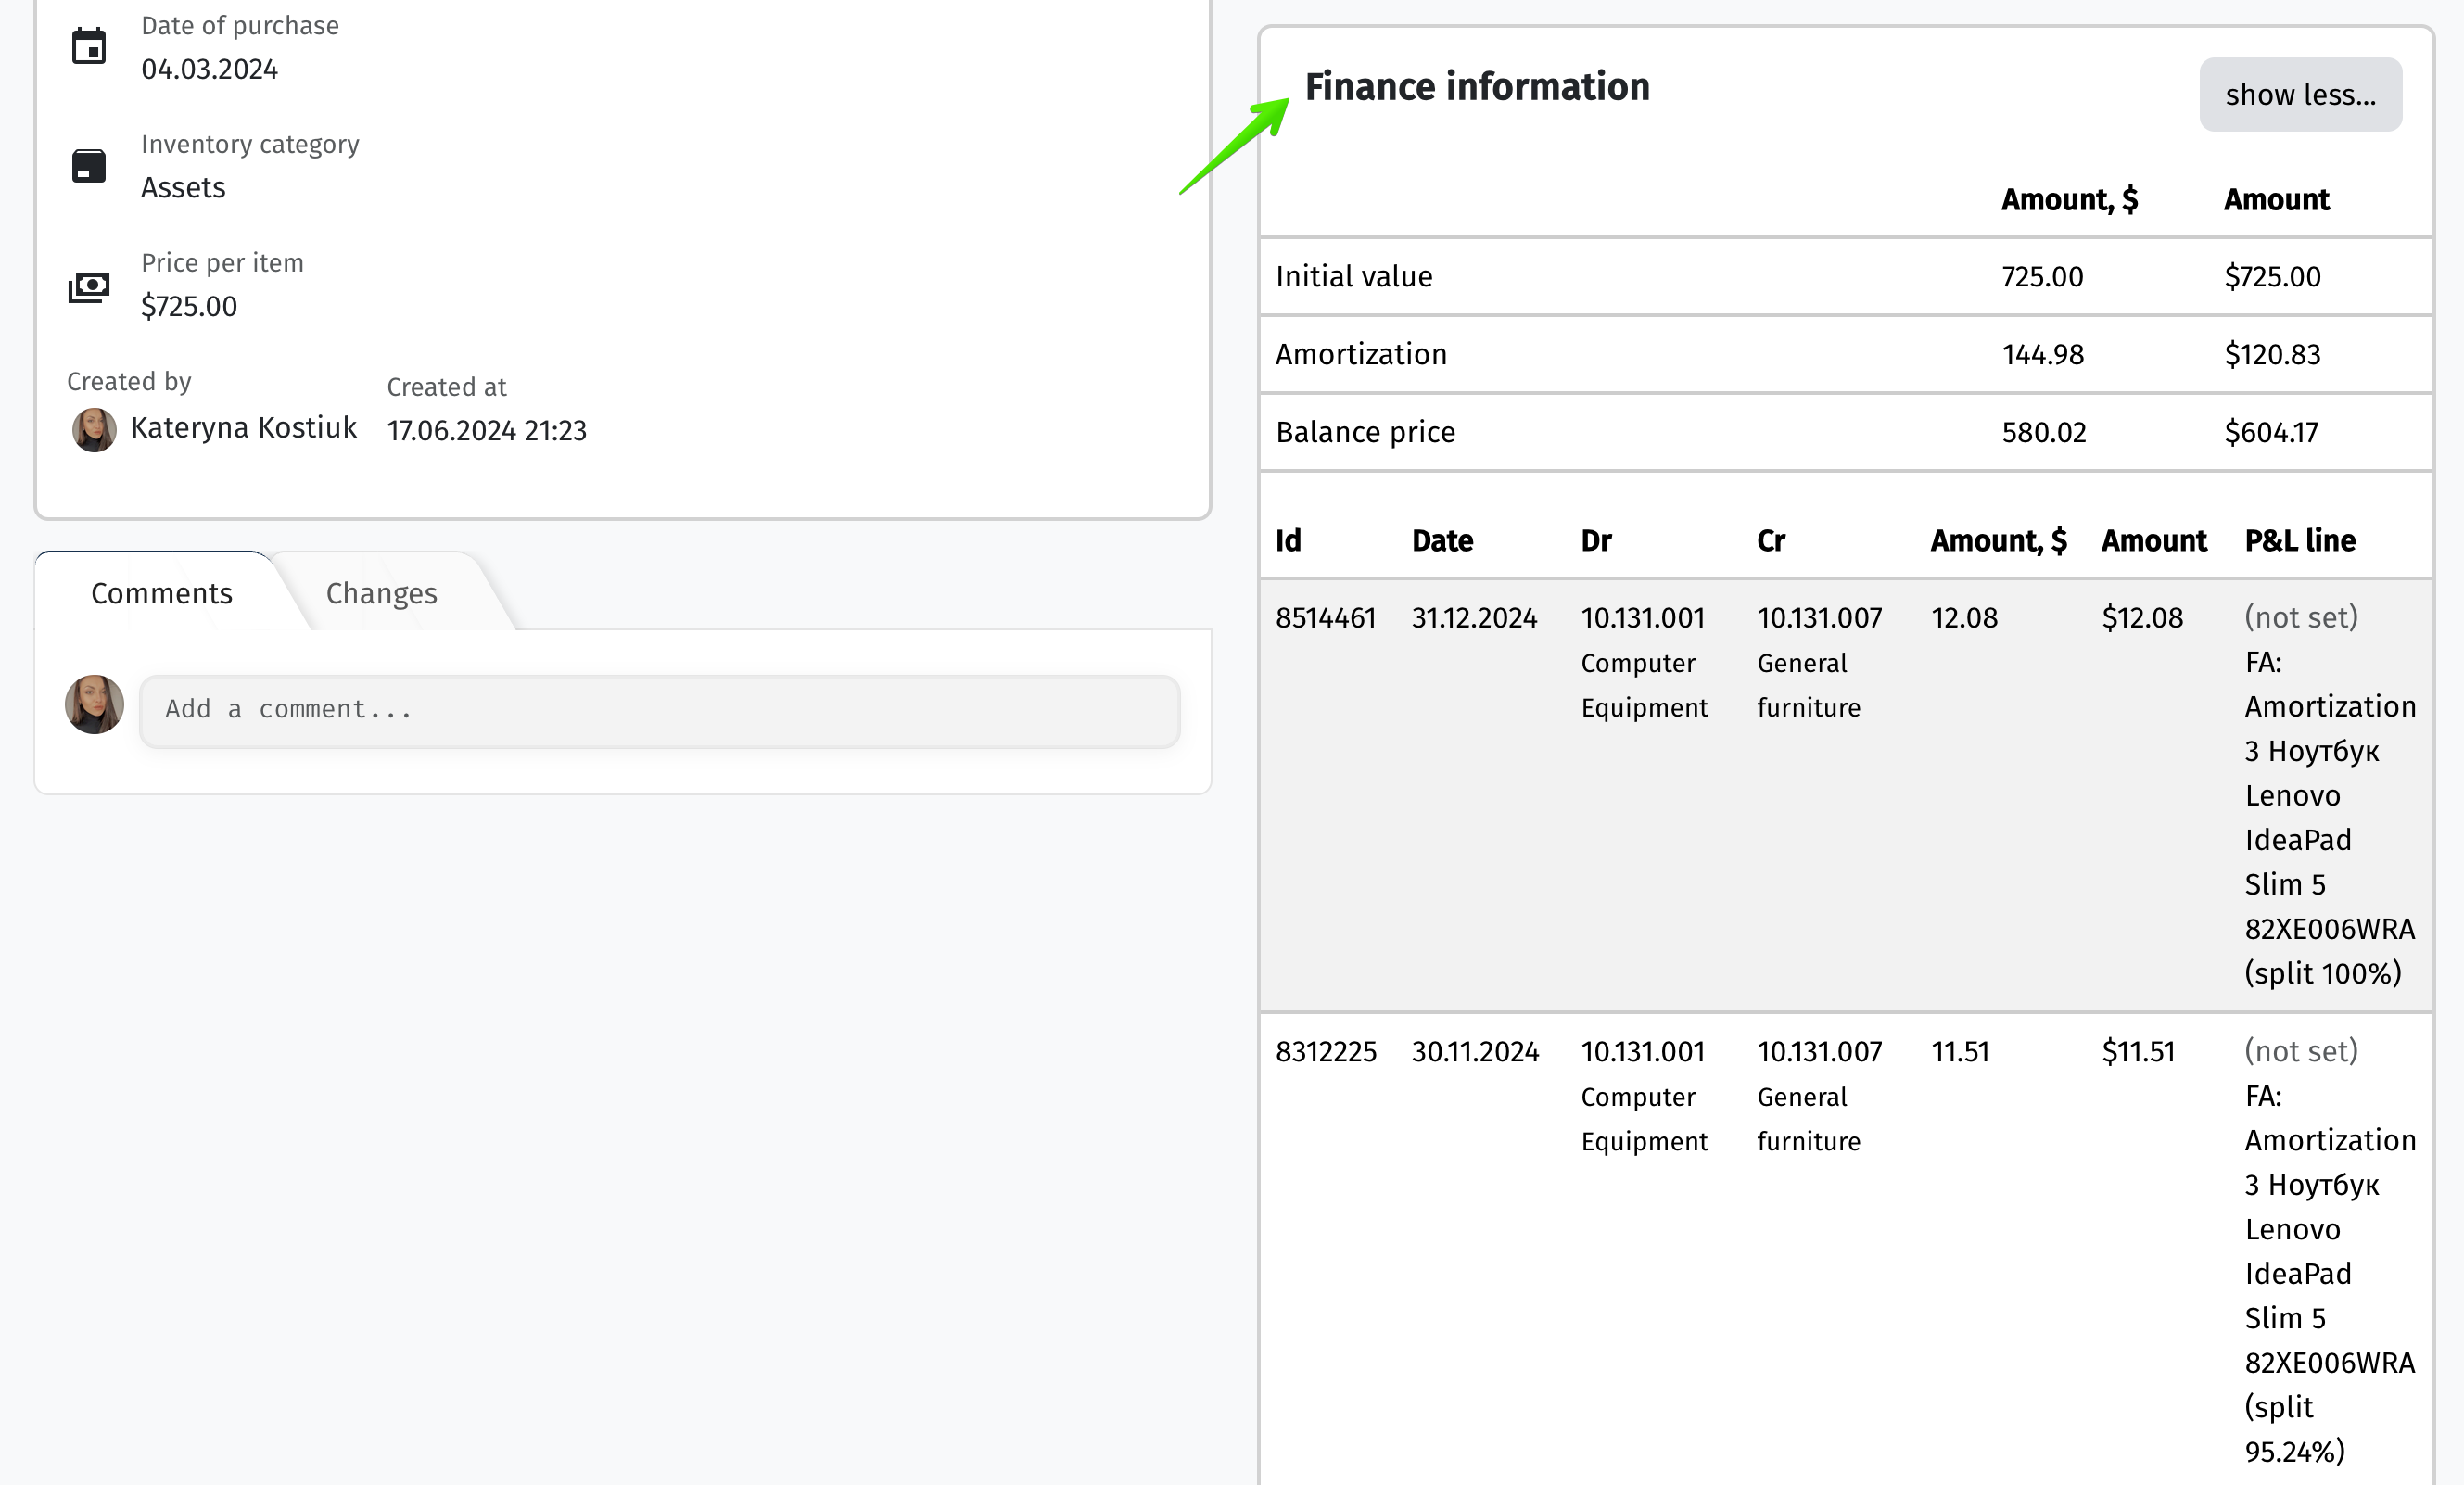
This page also contains a Finance information section, which displays the original cost, depreciation accrued over the usage period, and the current value. By clicking on the details, you can view the entries automatically generated after the inventory item started being used.
